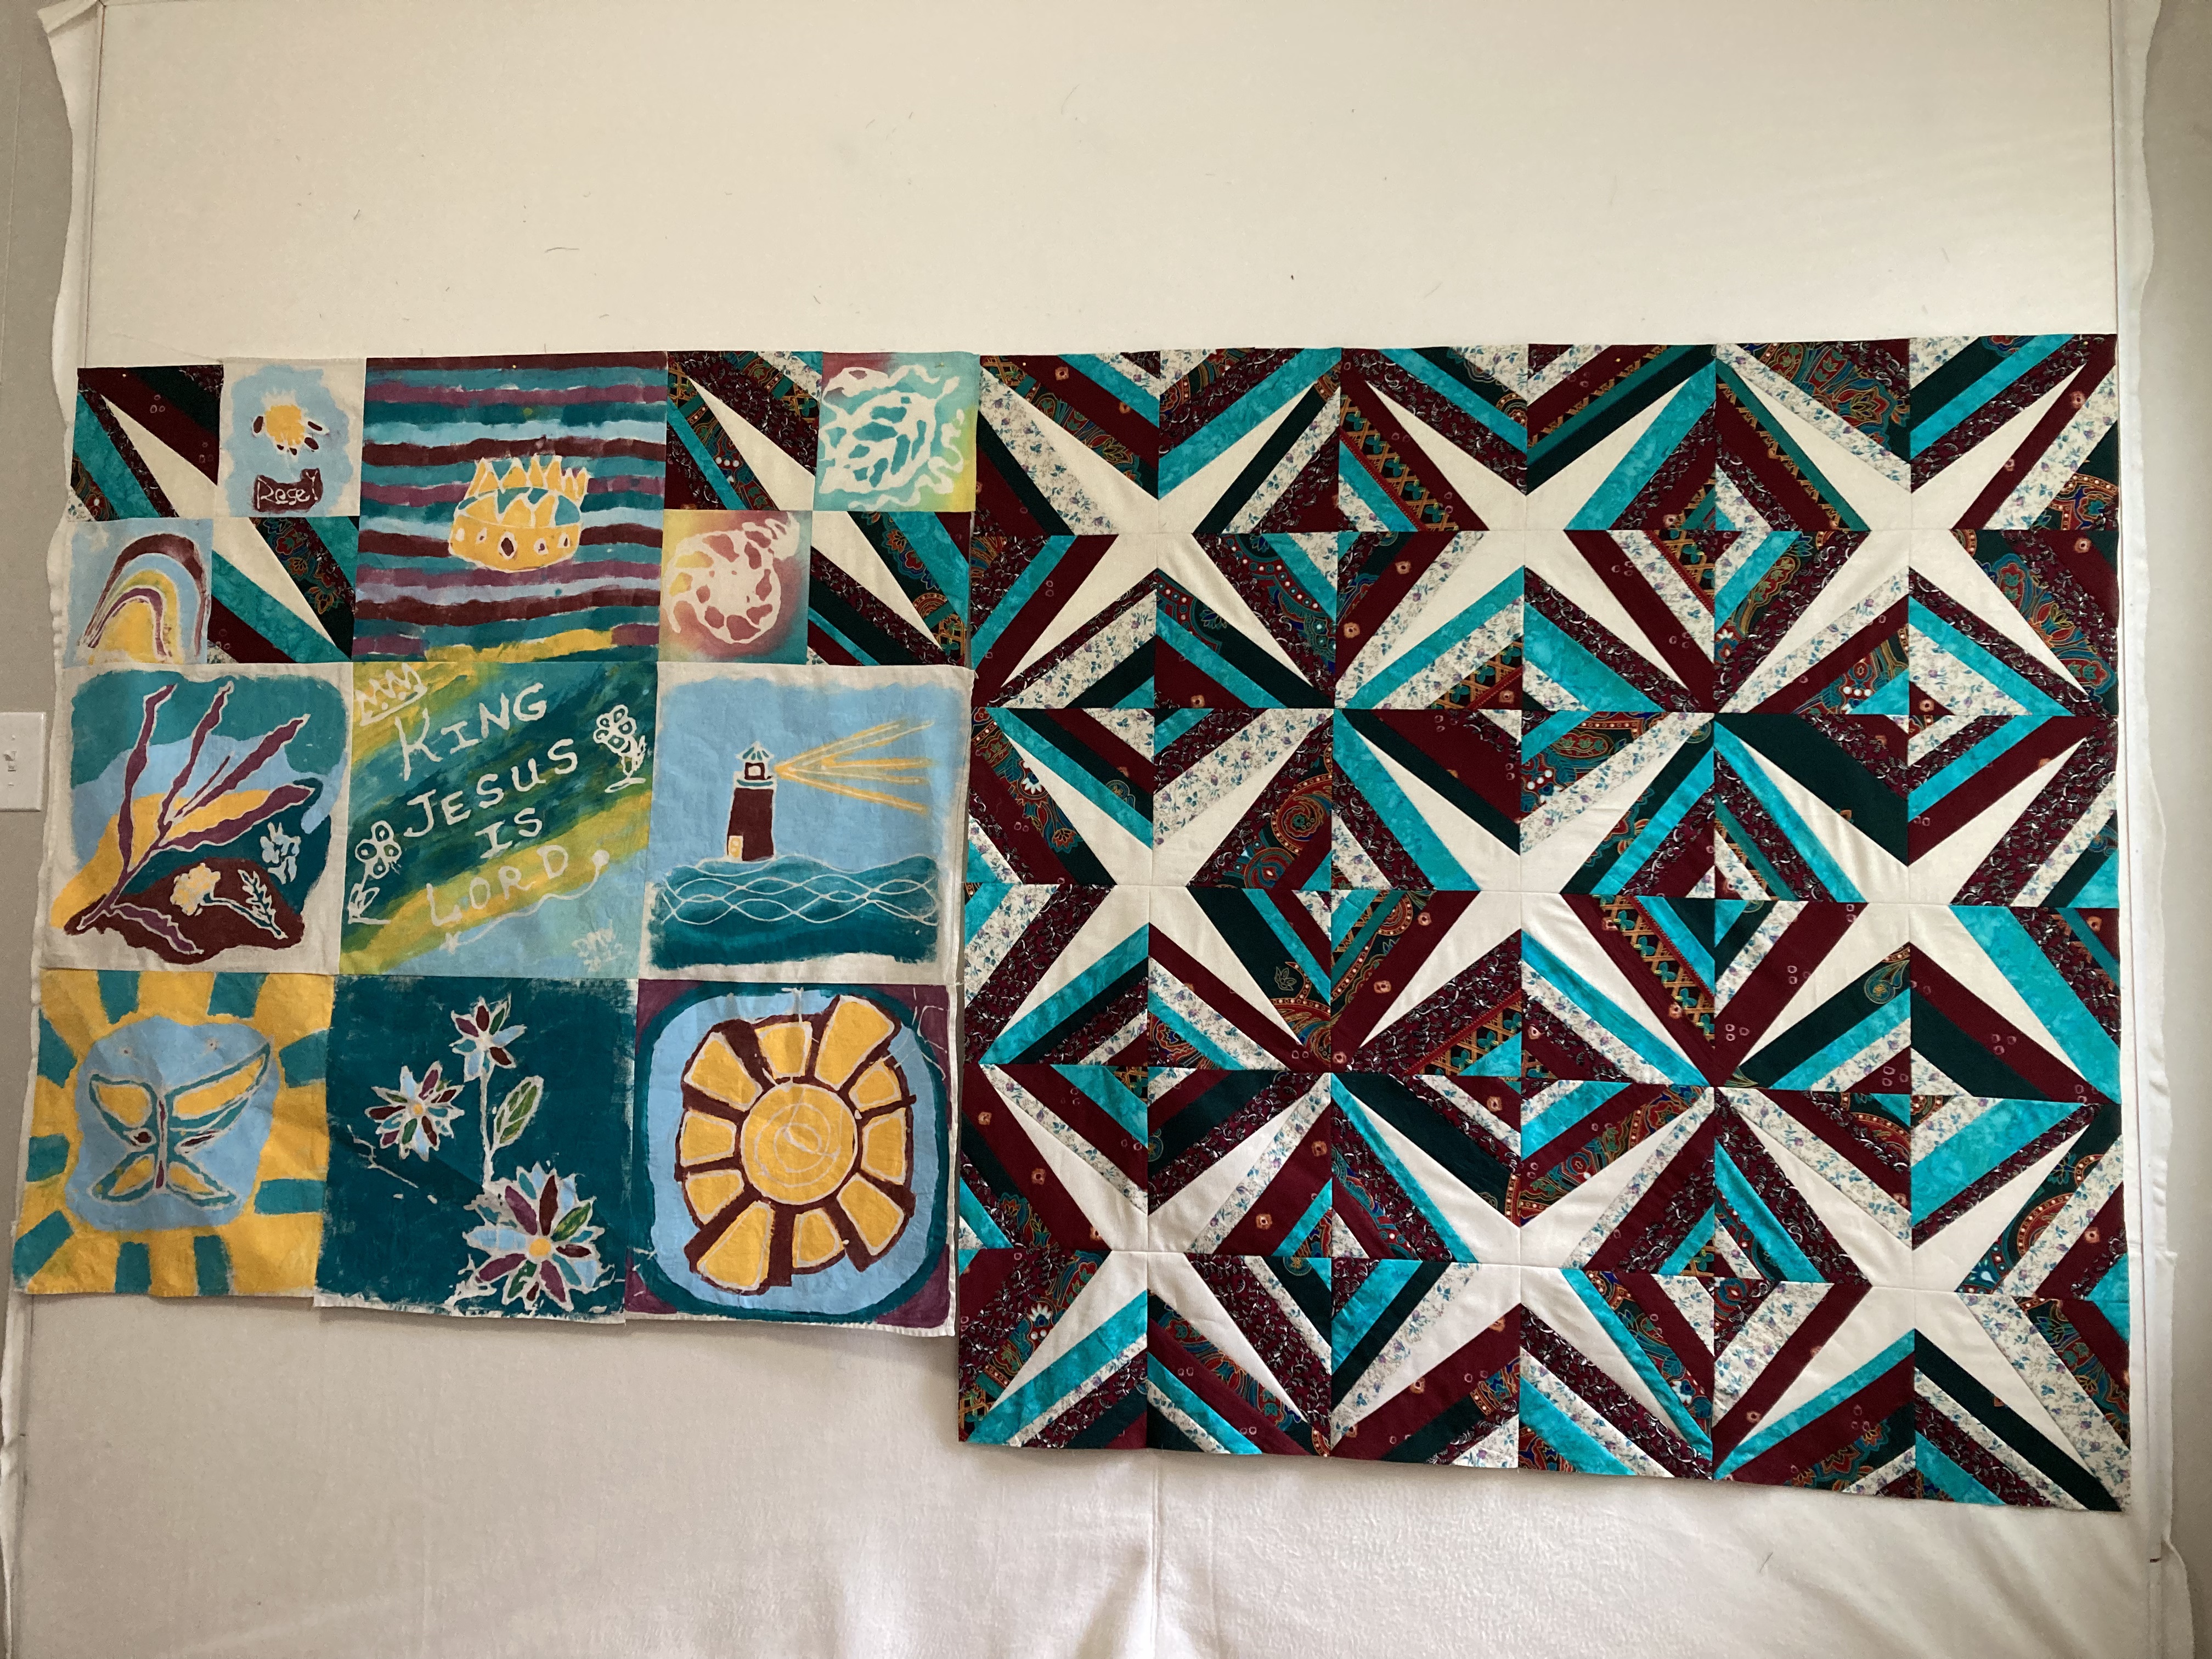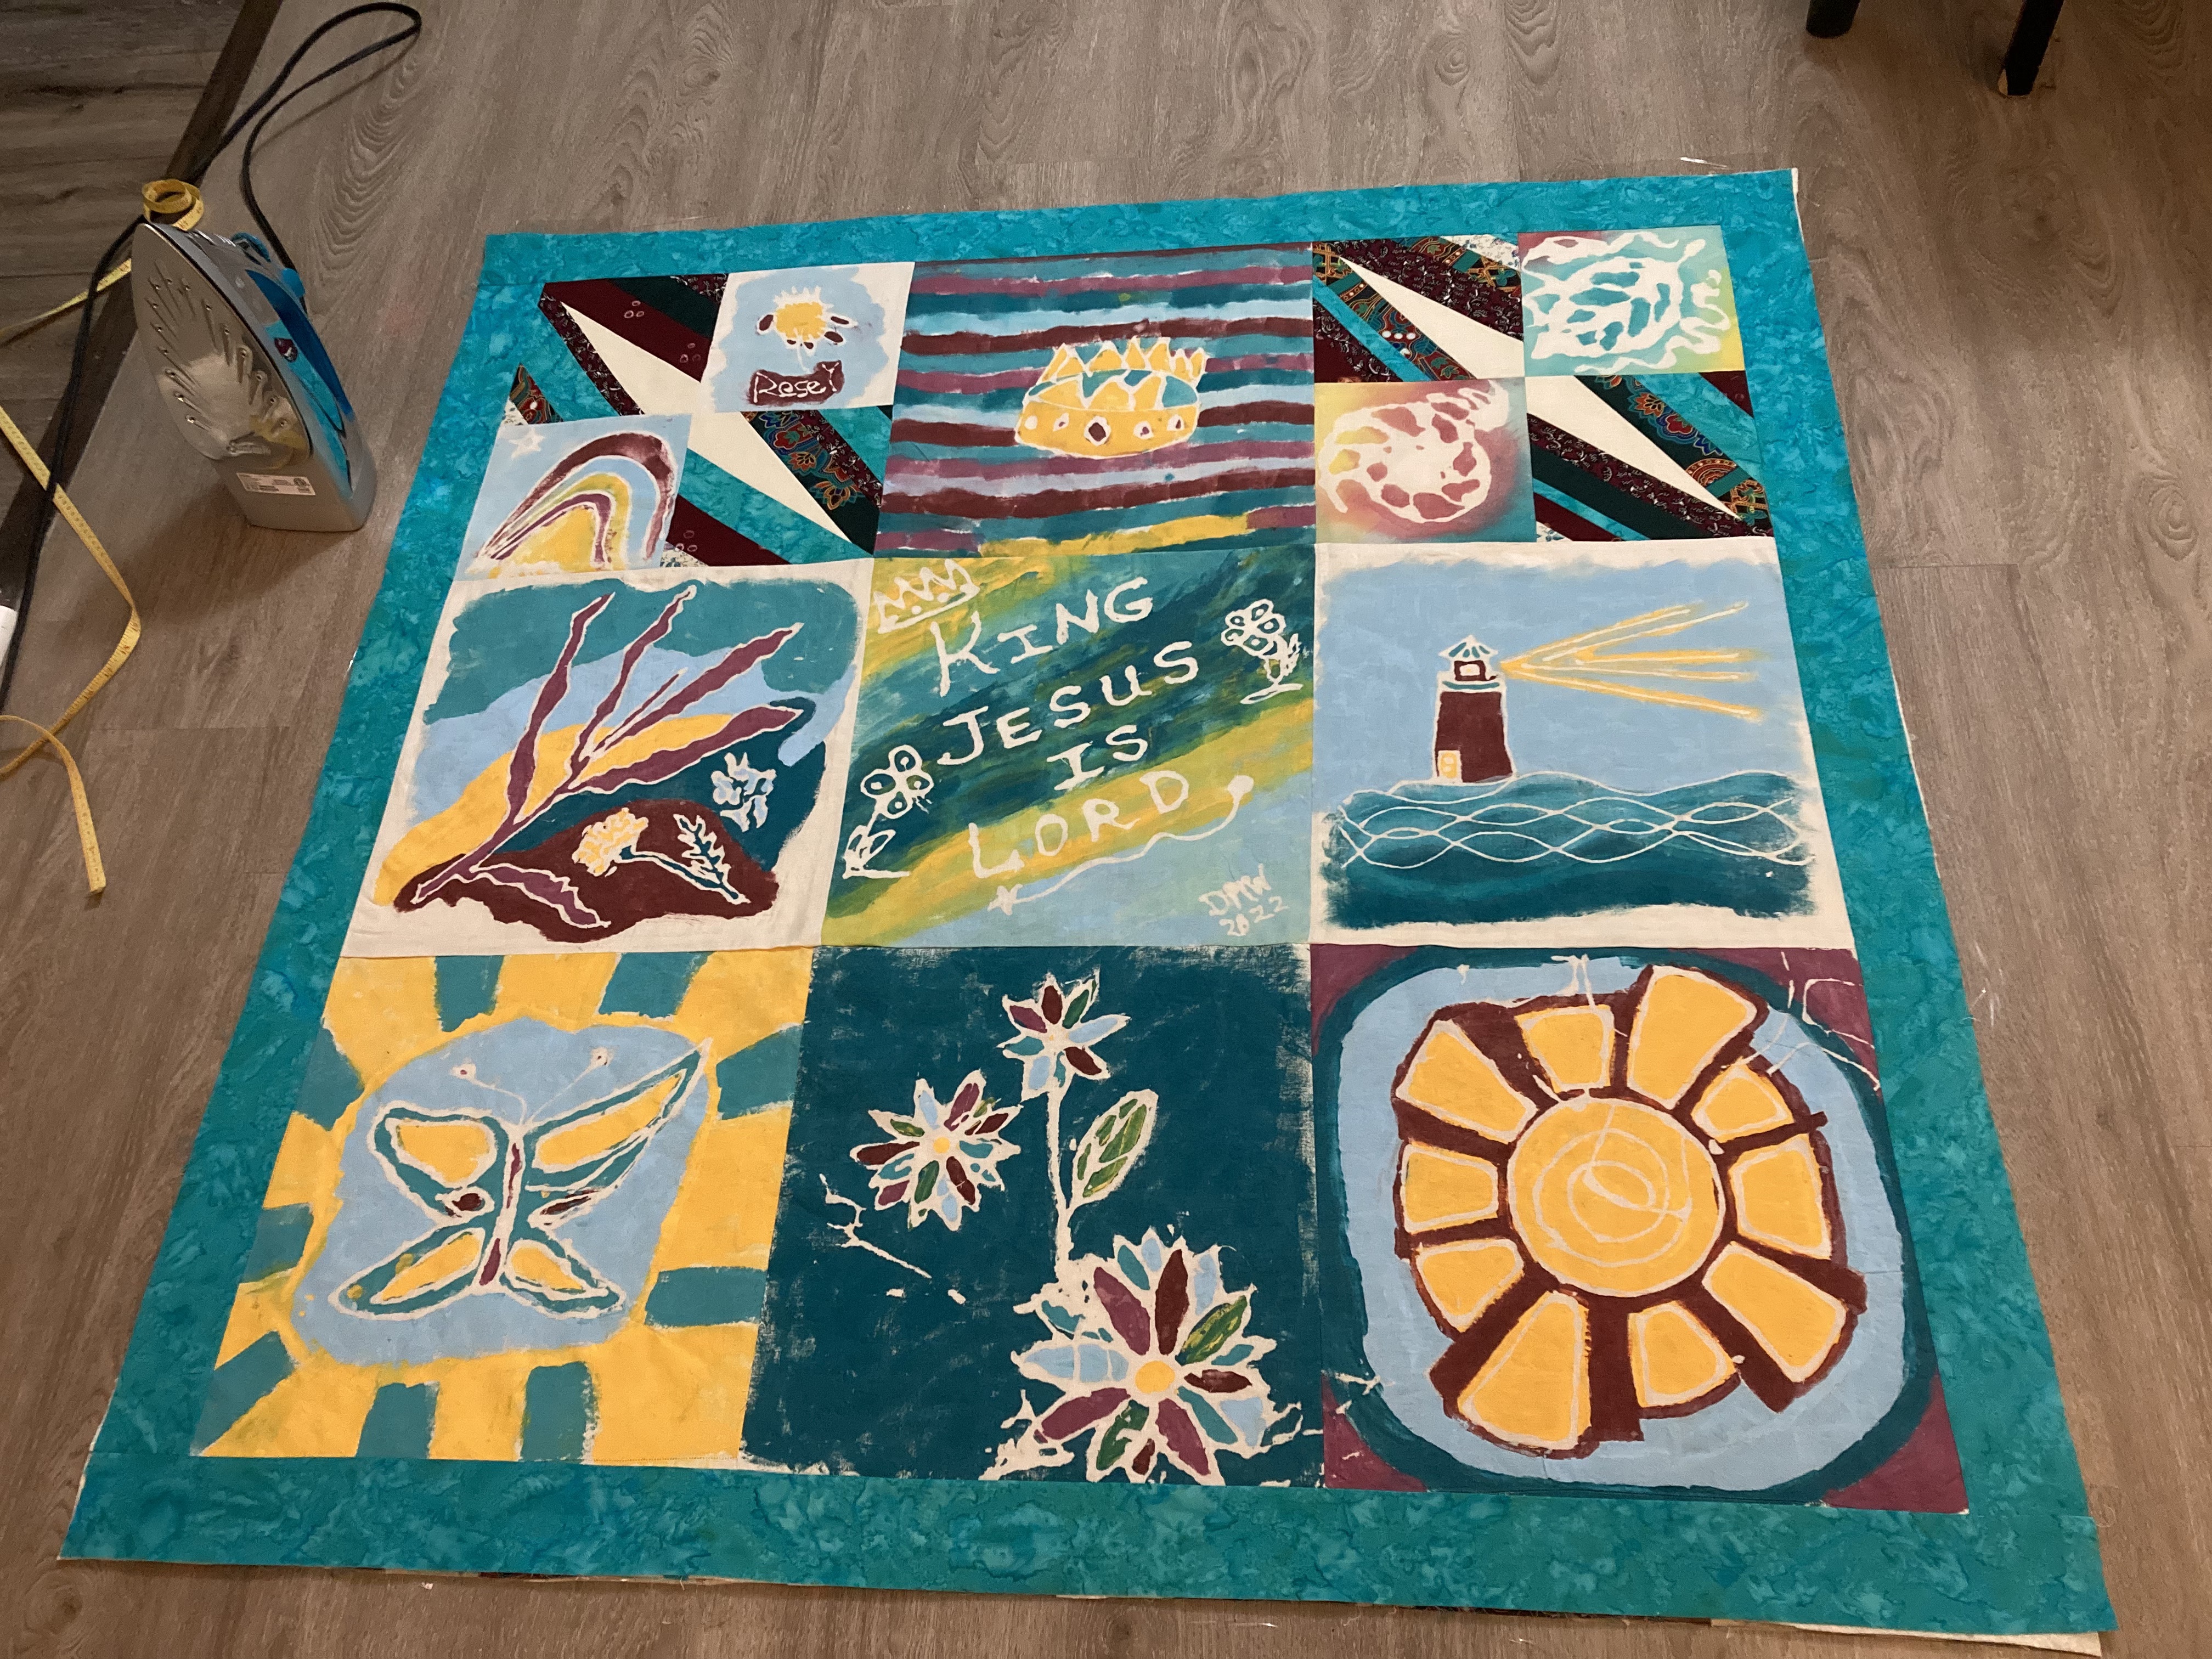

Two different creative ideas collided in this project. The first idea came when I was chatting with my cousin Sonya about different summer art-club ideas. She really wanted to play around with a resist dye technique and needed to try it out herself before she attempted it with a group of children. The second thing that happened was that my sister had a baby earlier this year – her fifth child, but her first girl! I wanted to make a fun and unique blanket, and Sonya wanted to experiment with cloth dying … so we turned the whole thing into a group project!
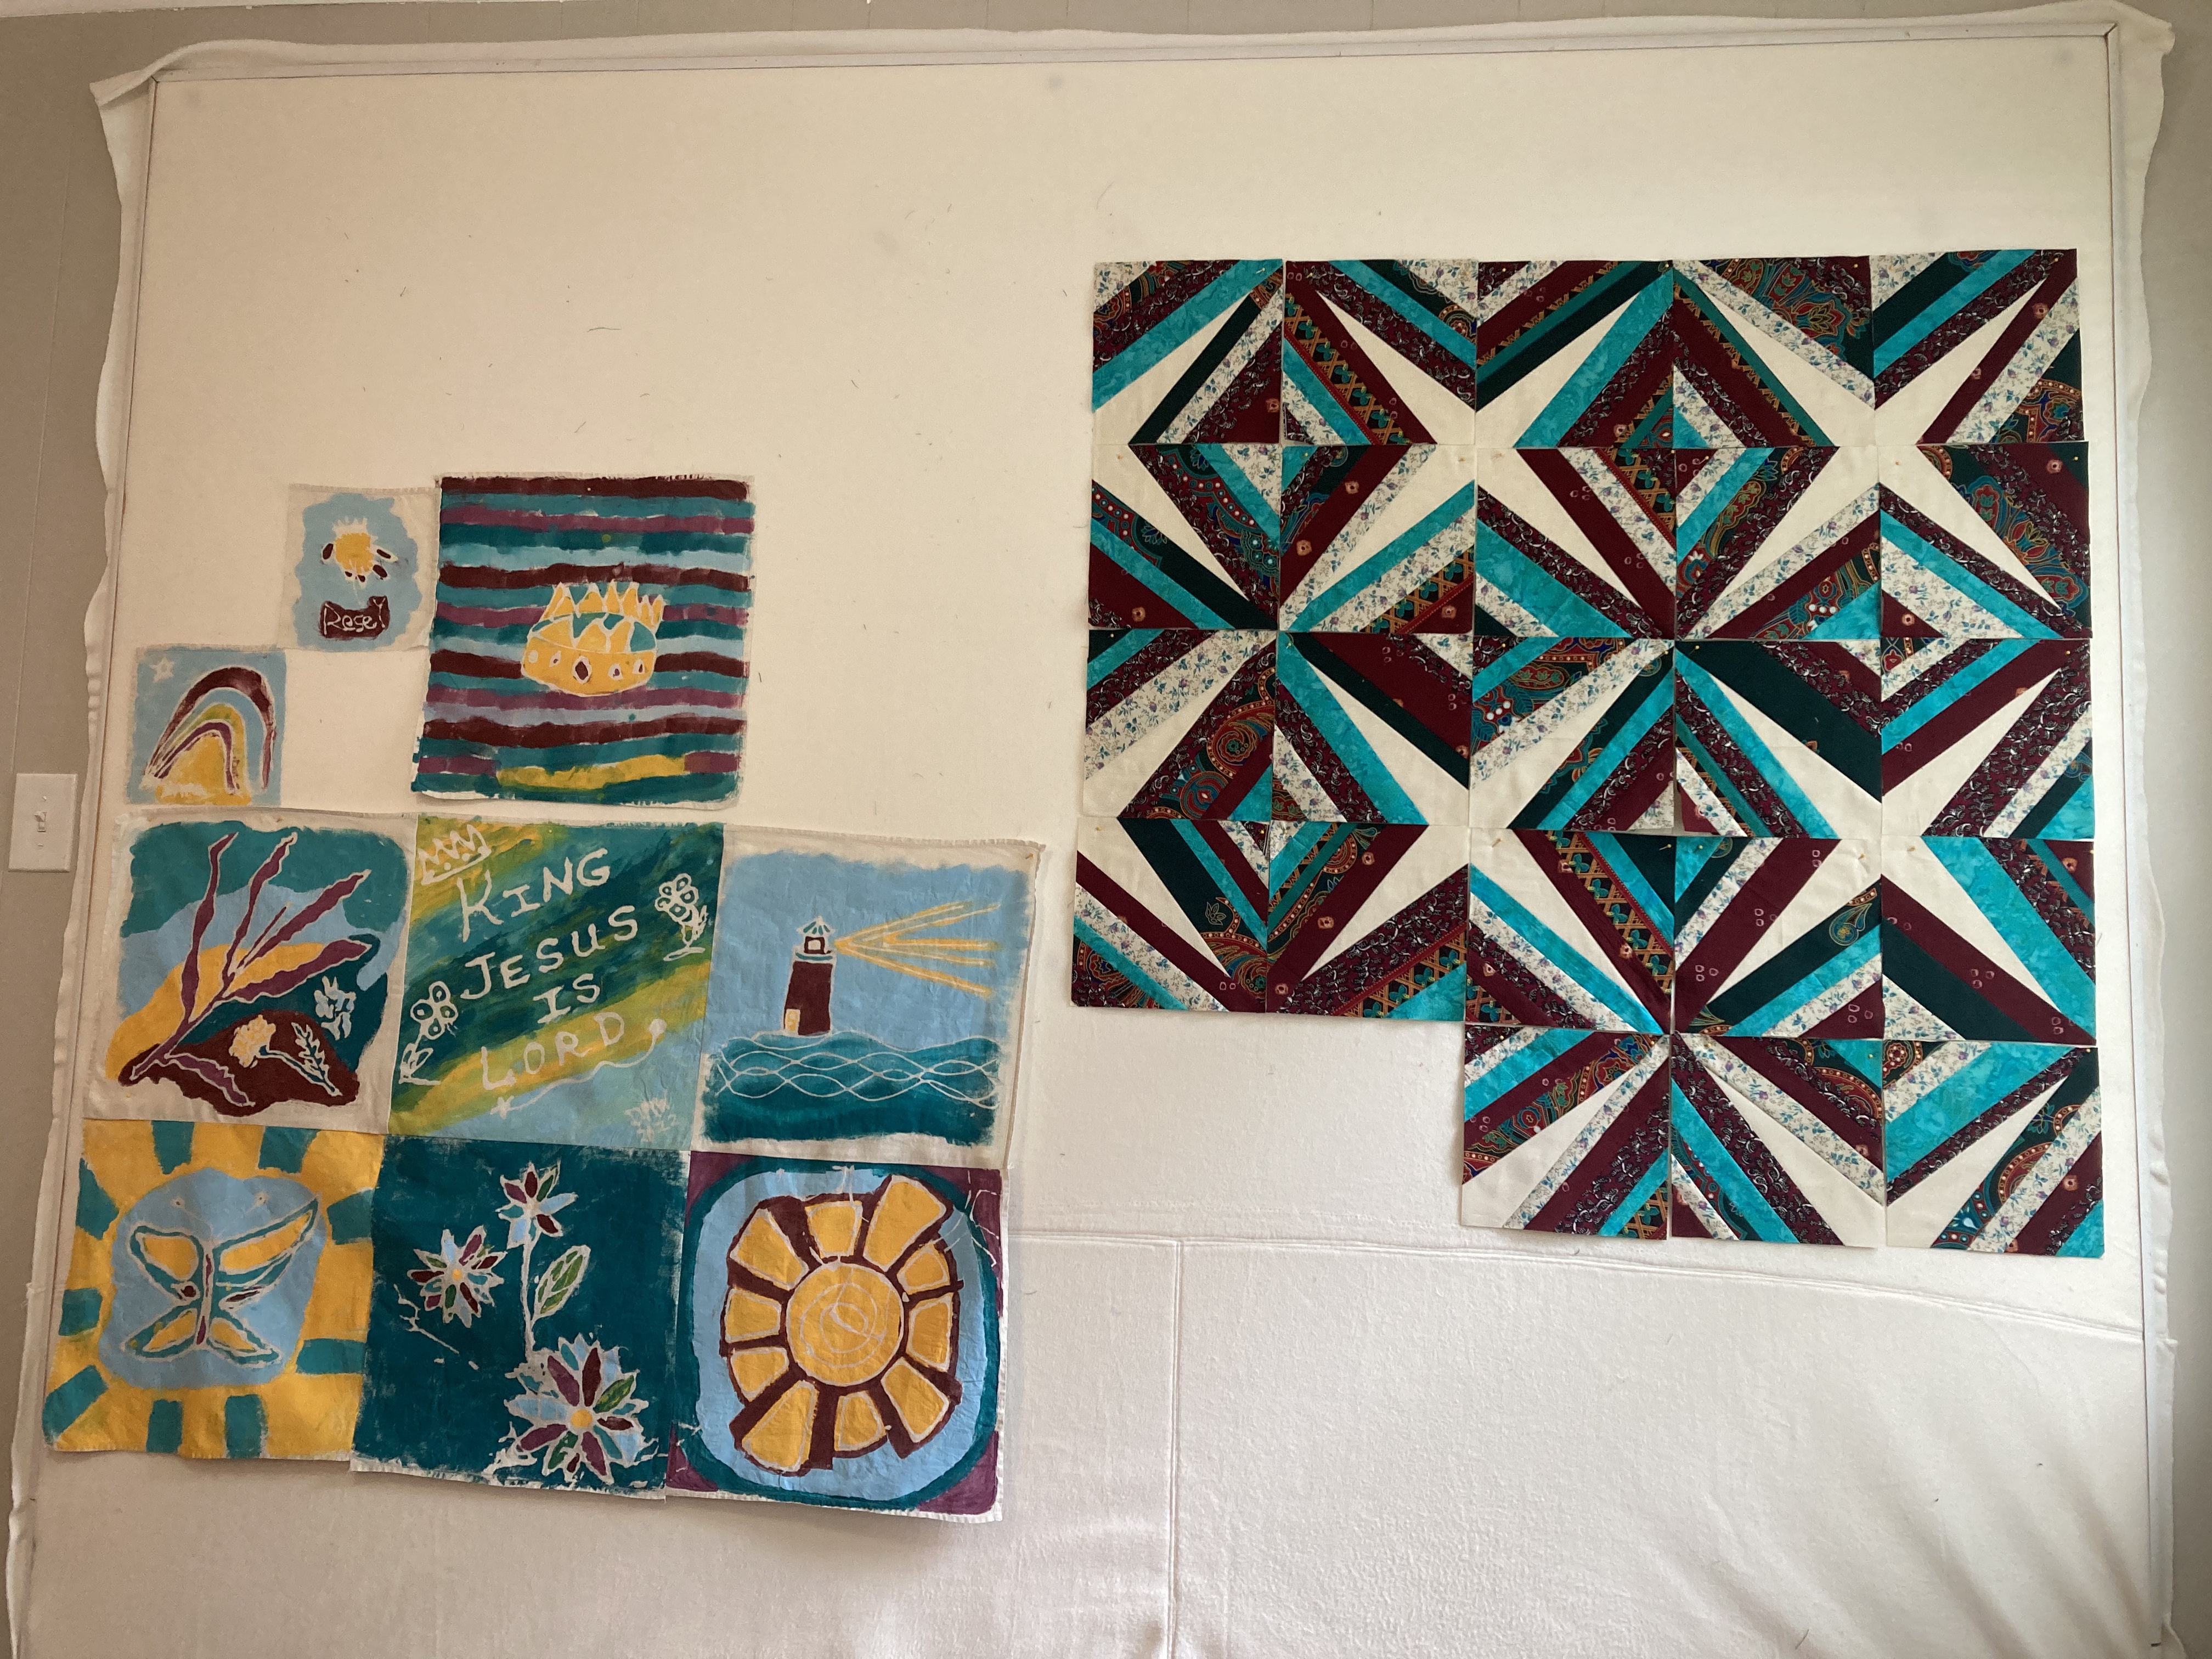
I started by choosing the color scheme of the final blanket and then I translated that into fabric paint.
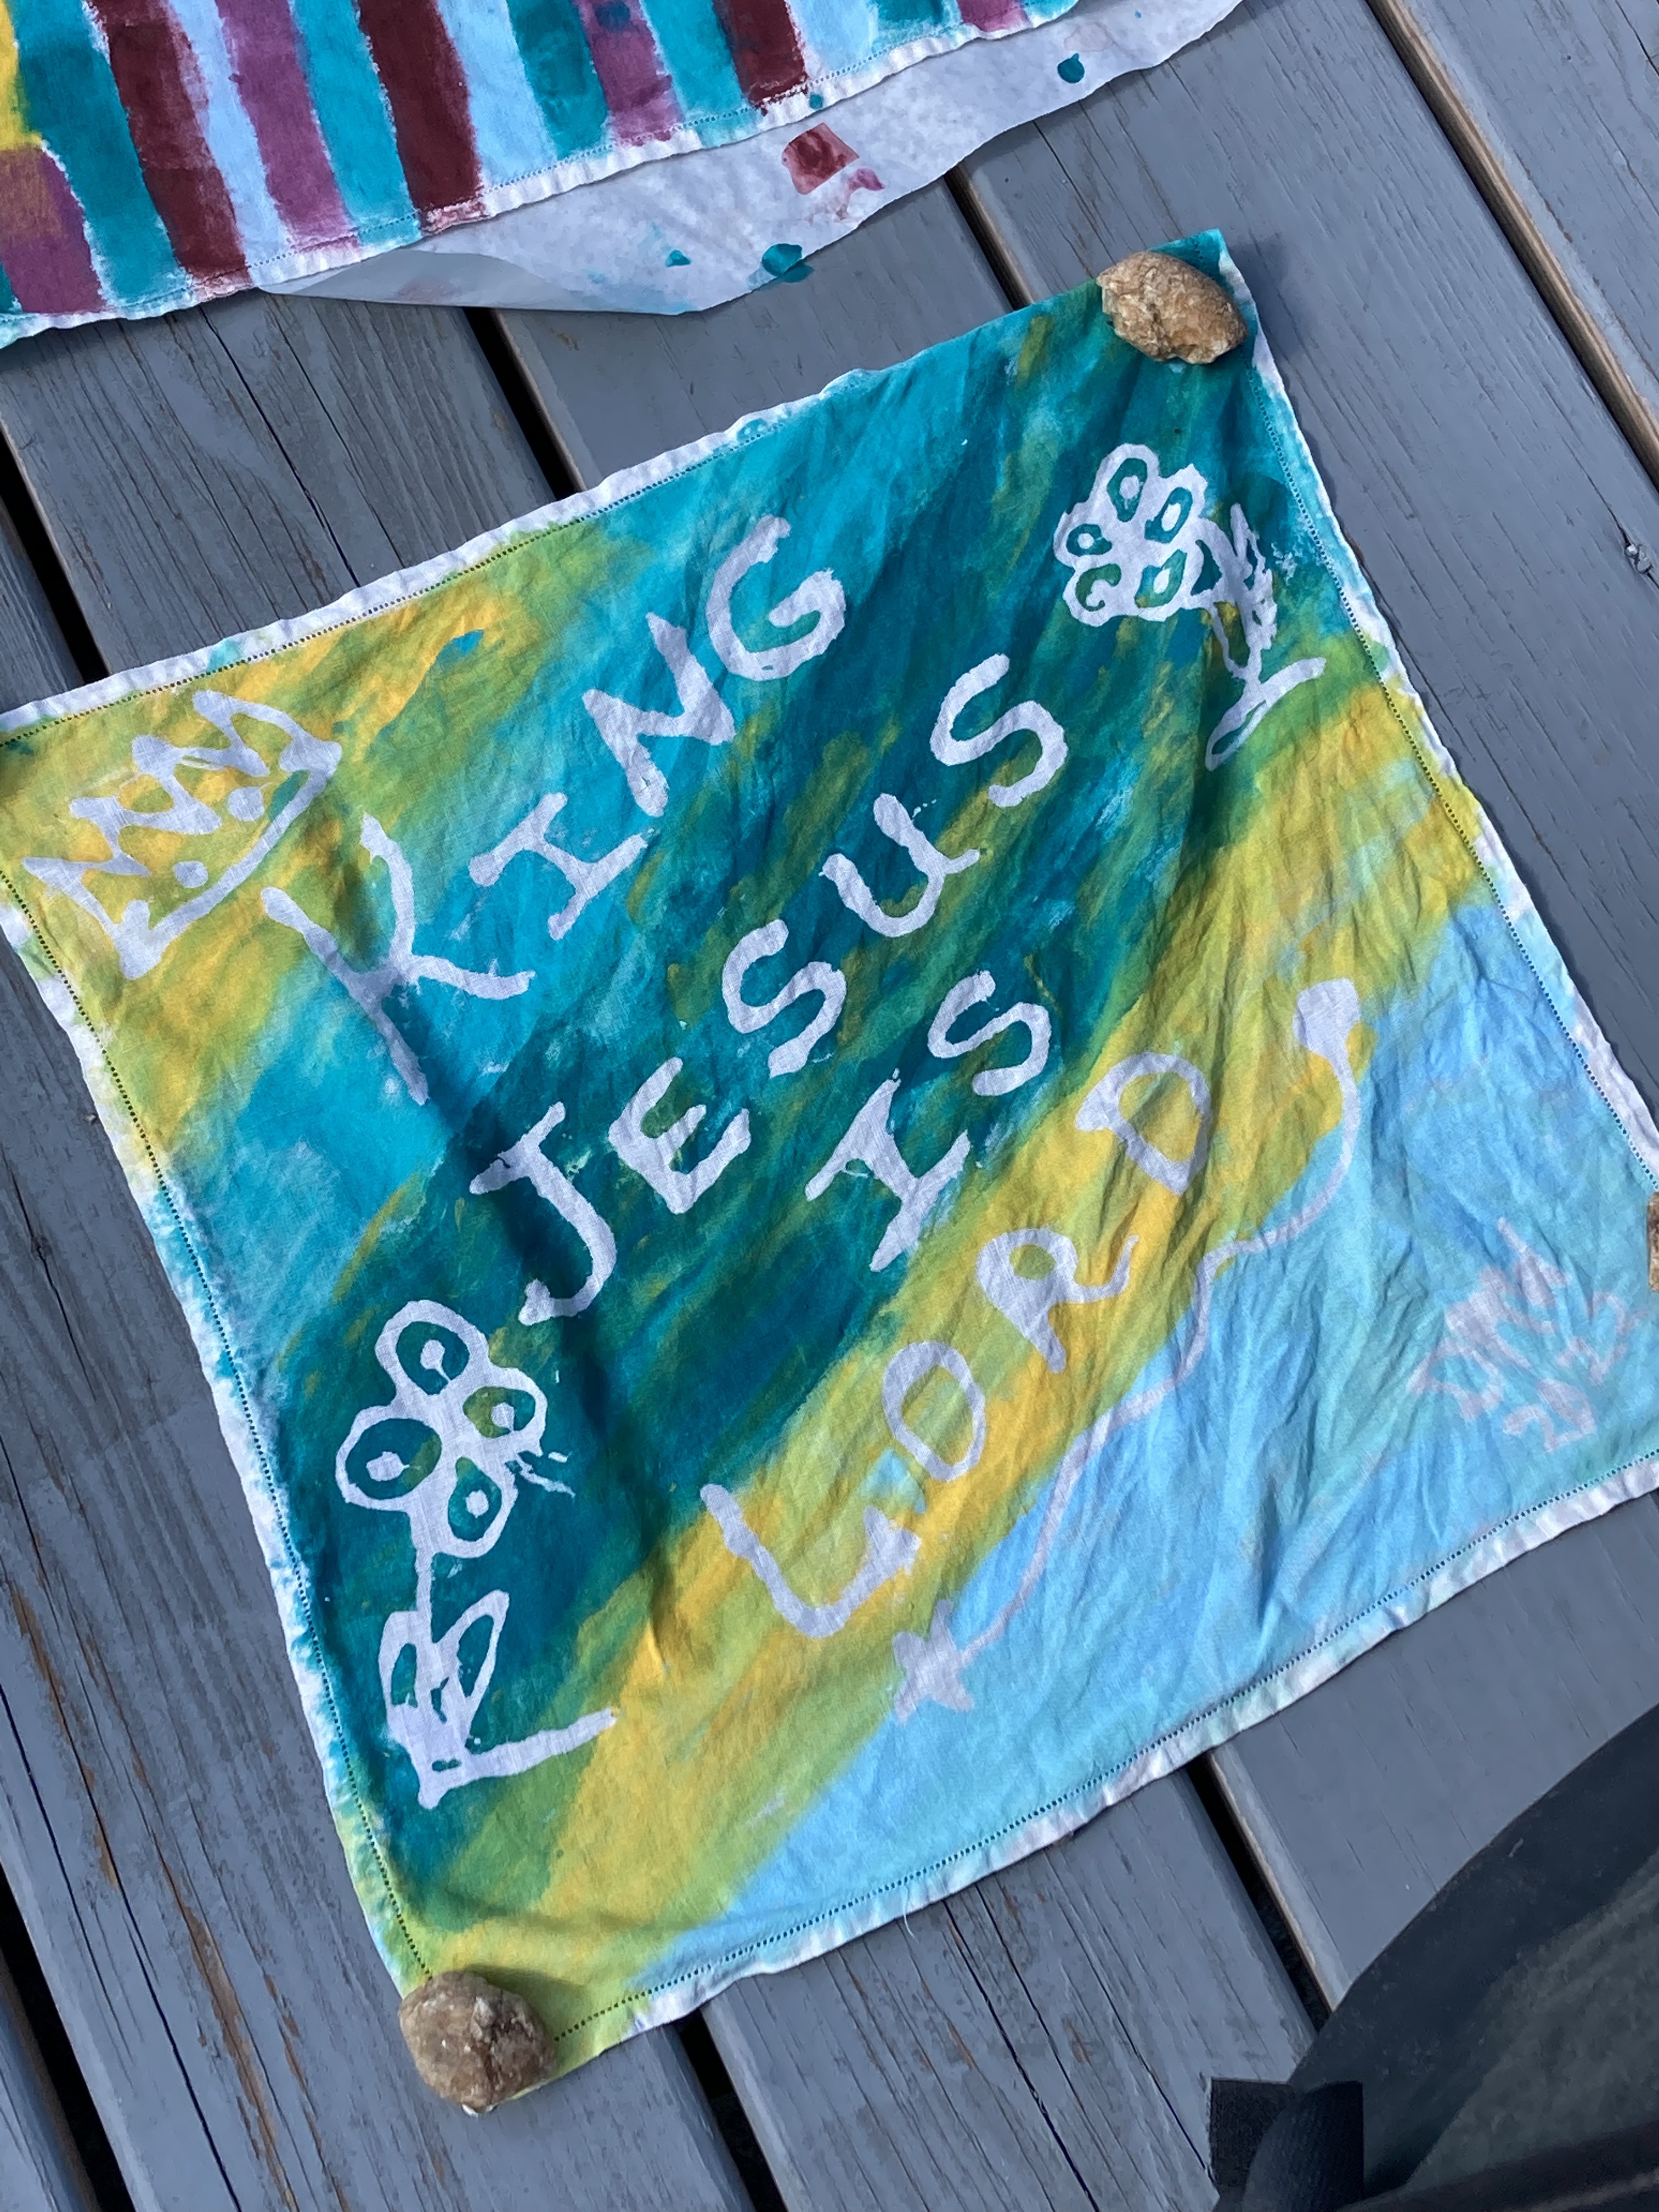
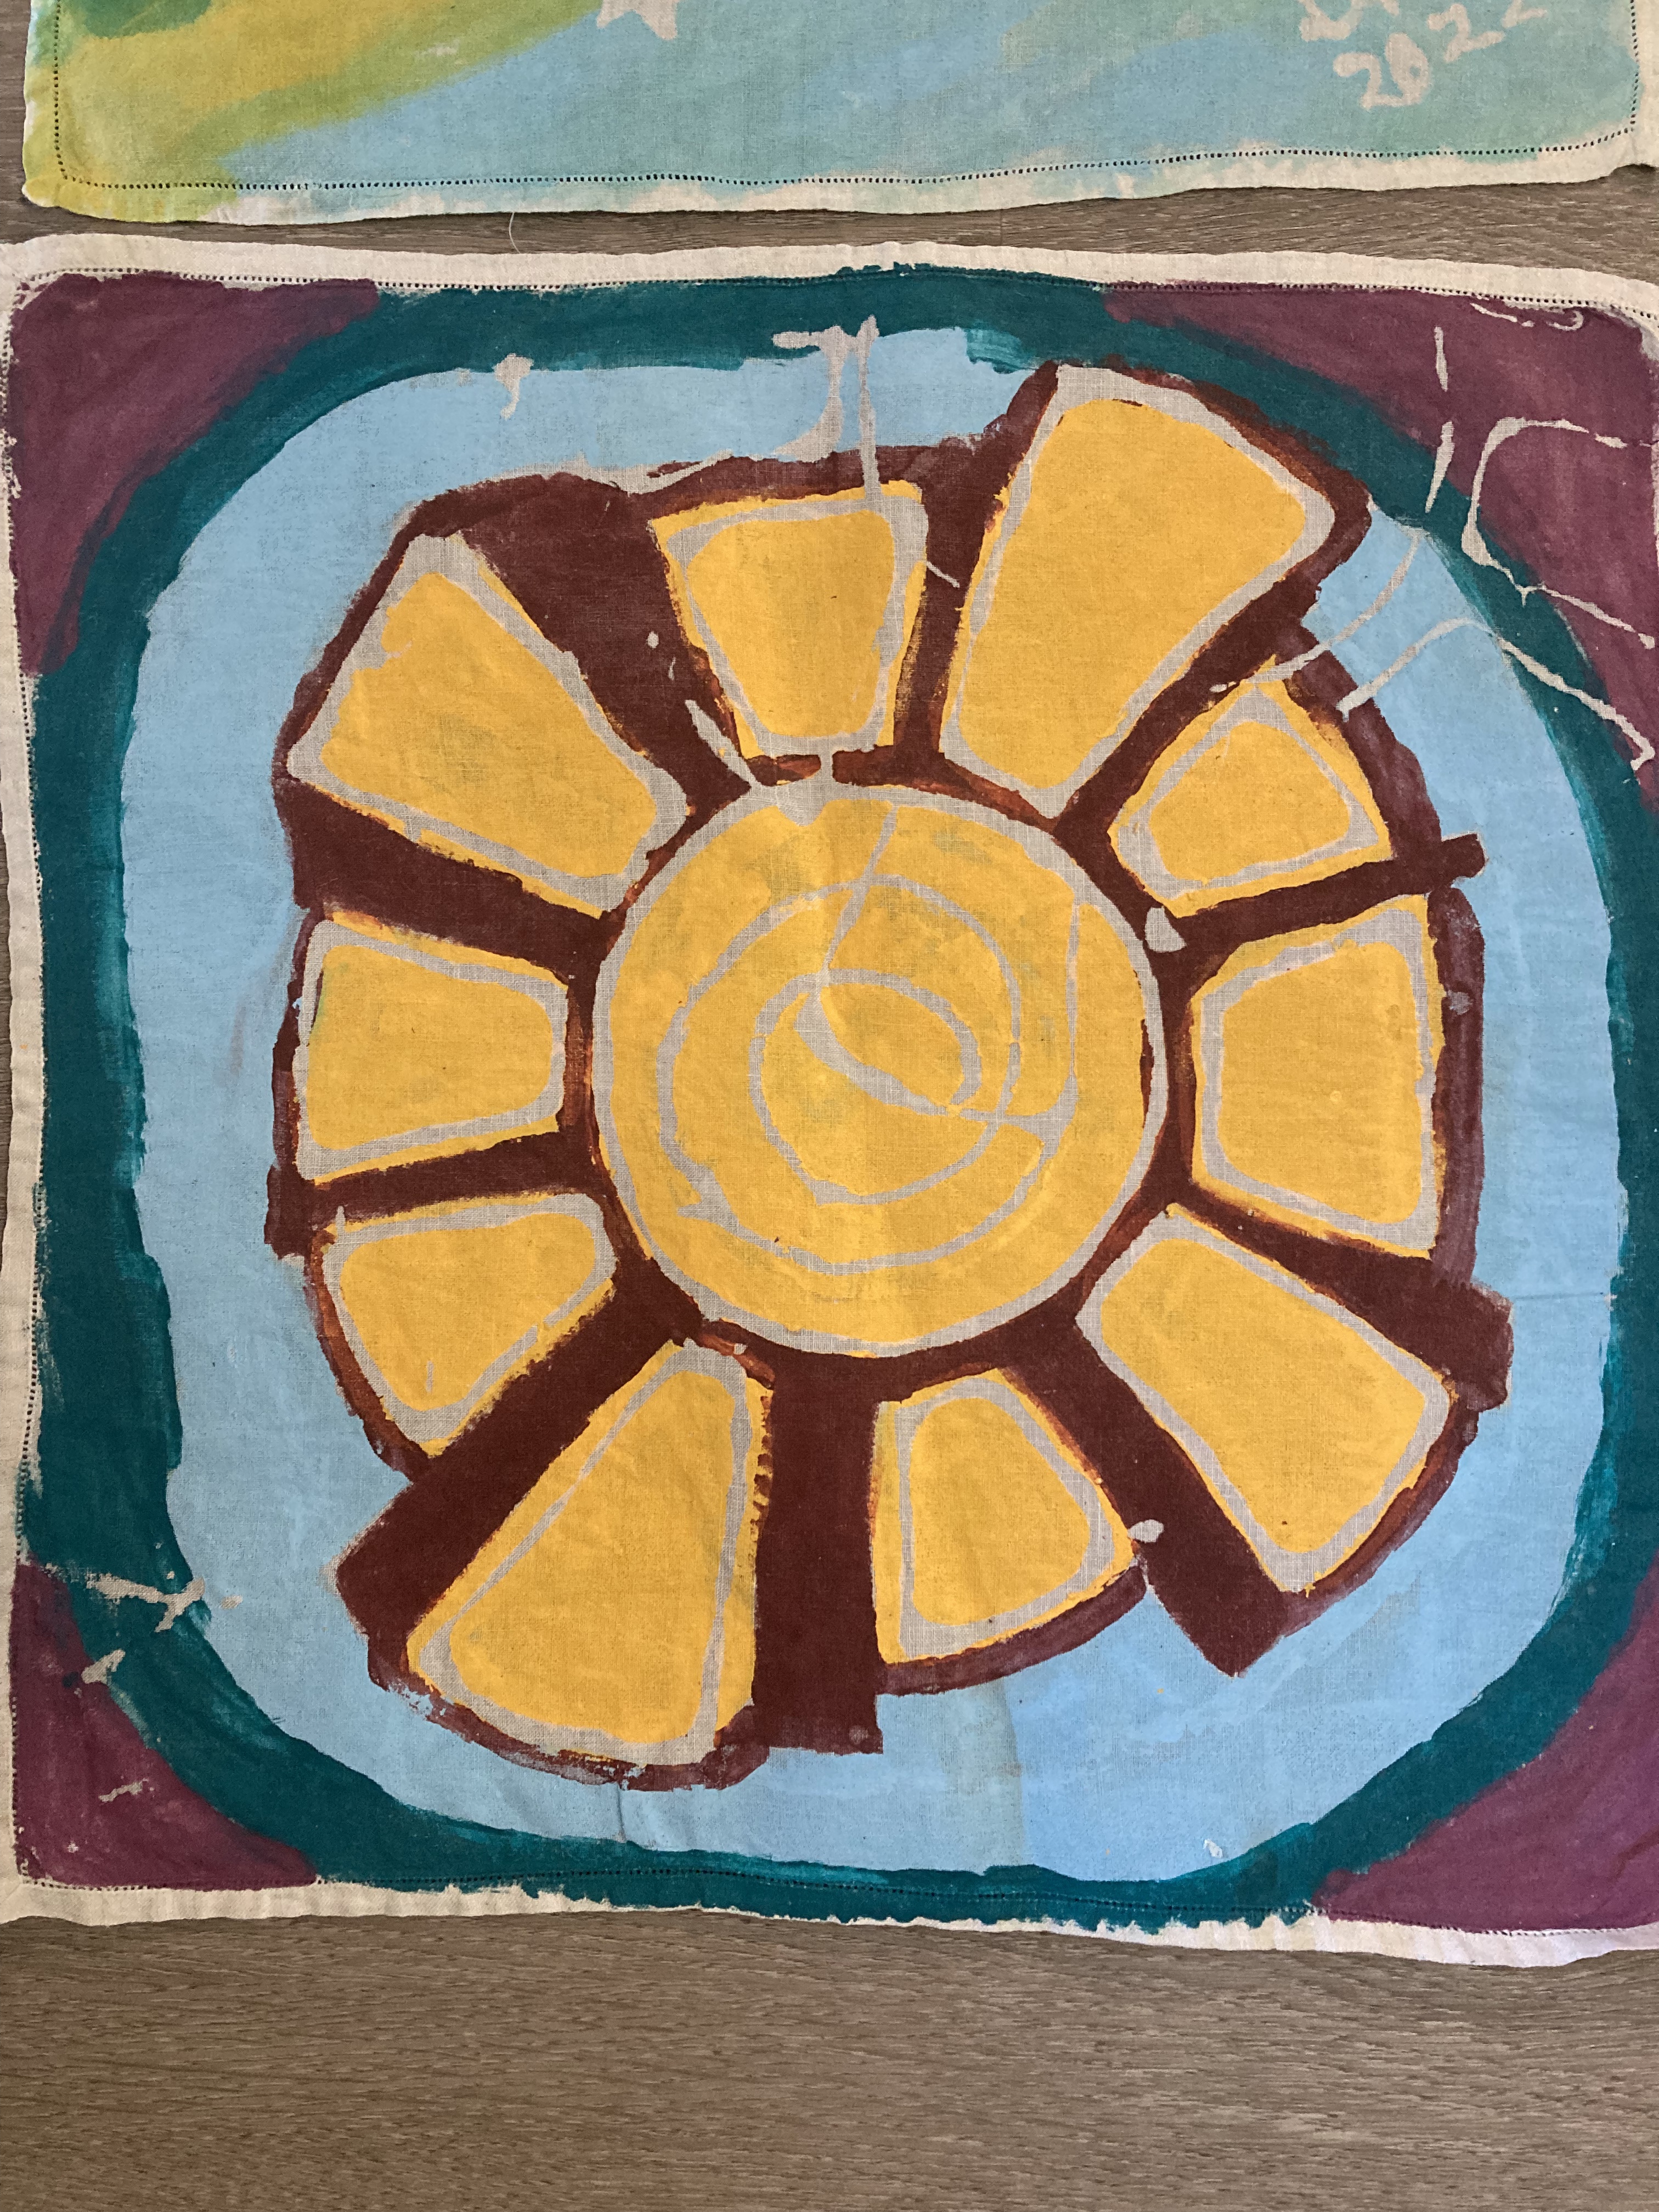
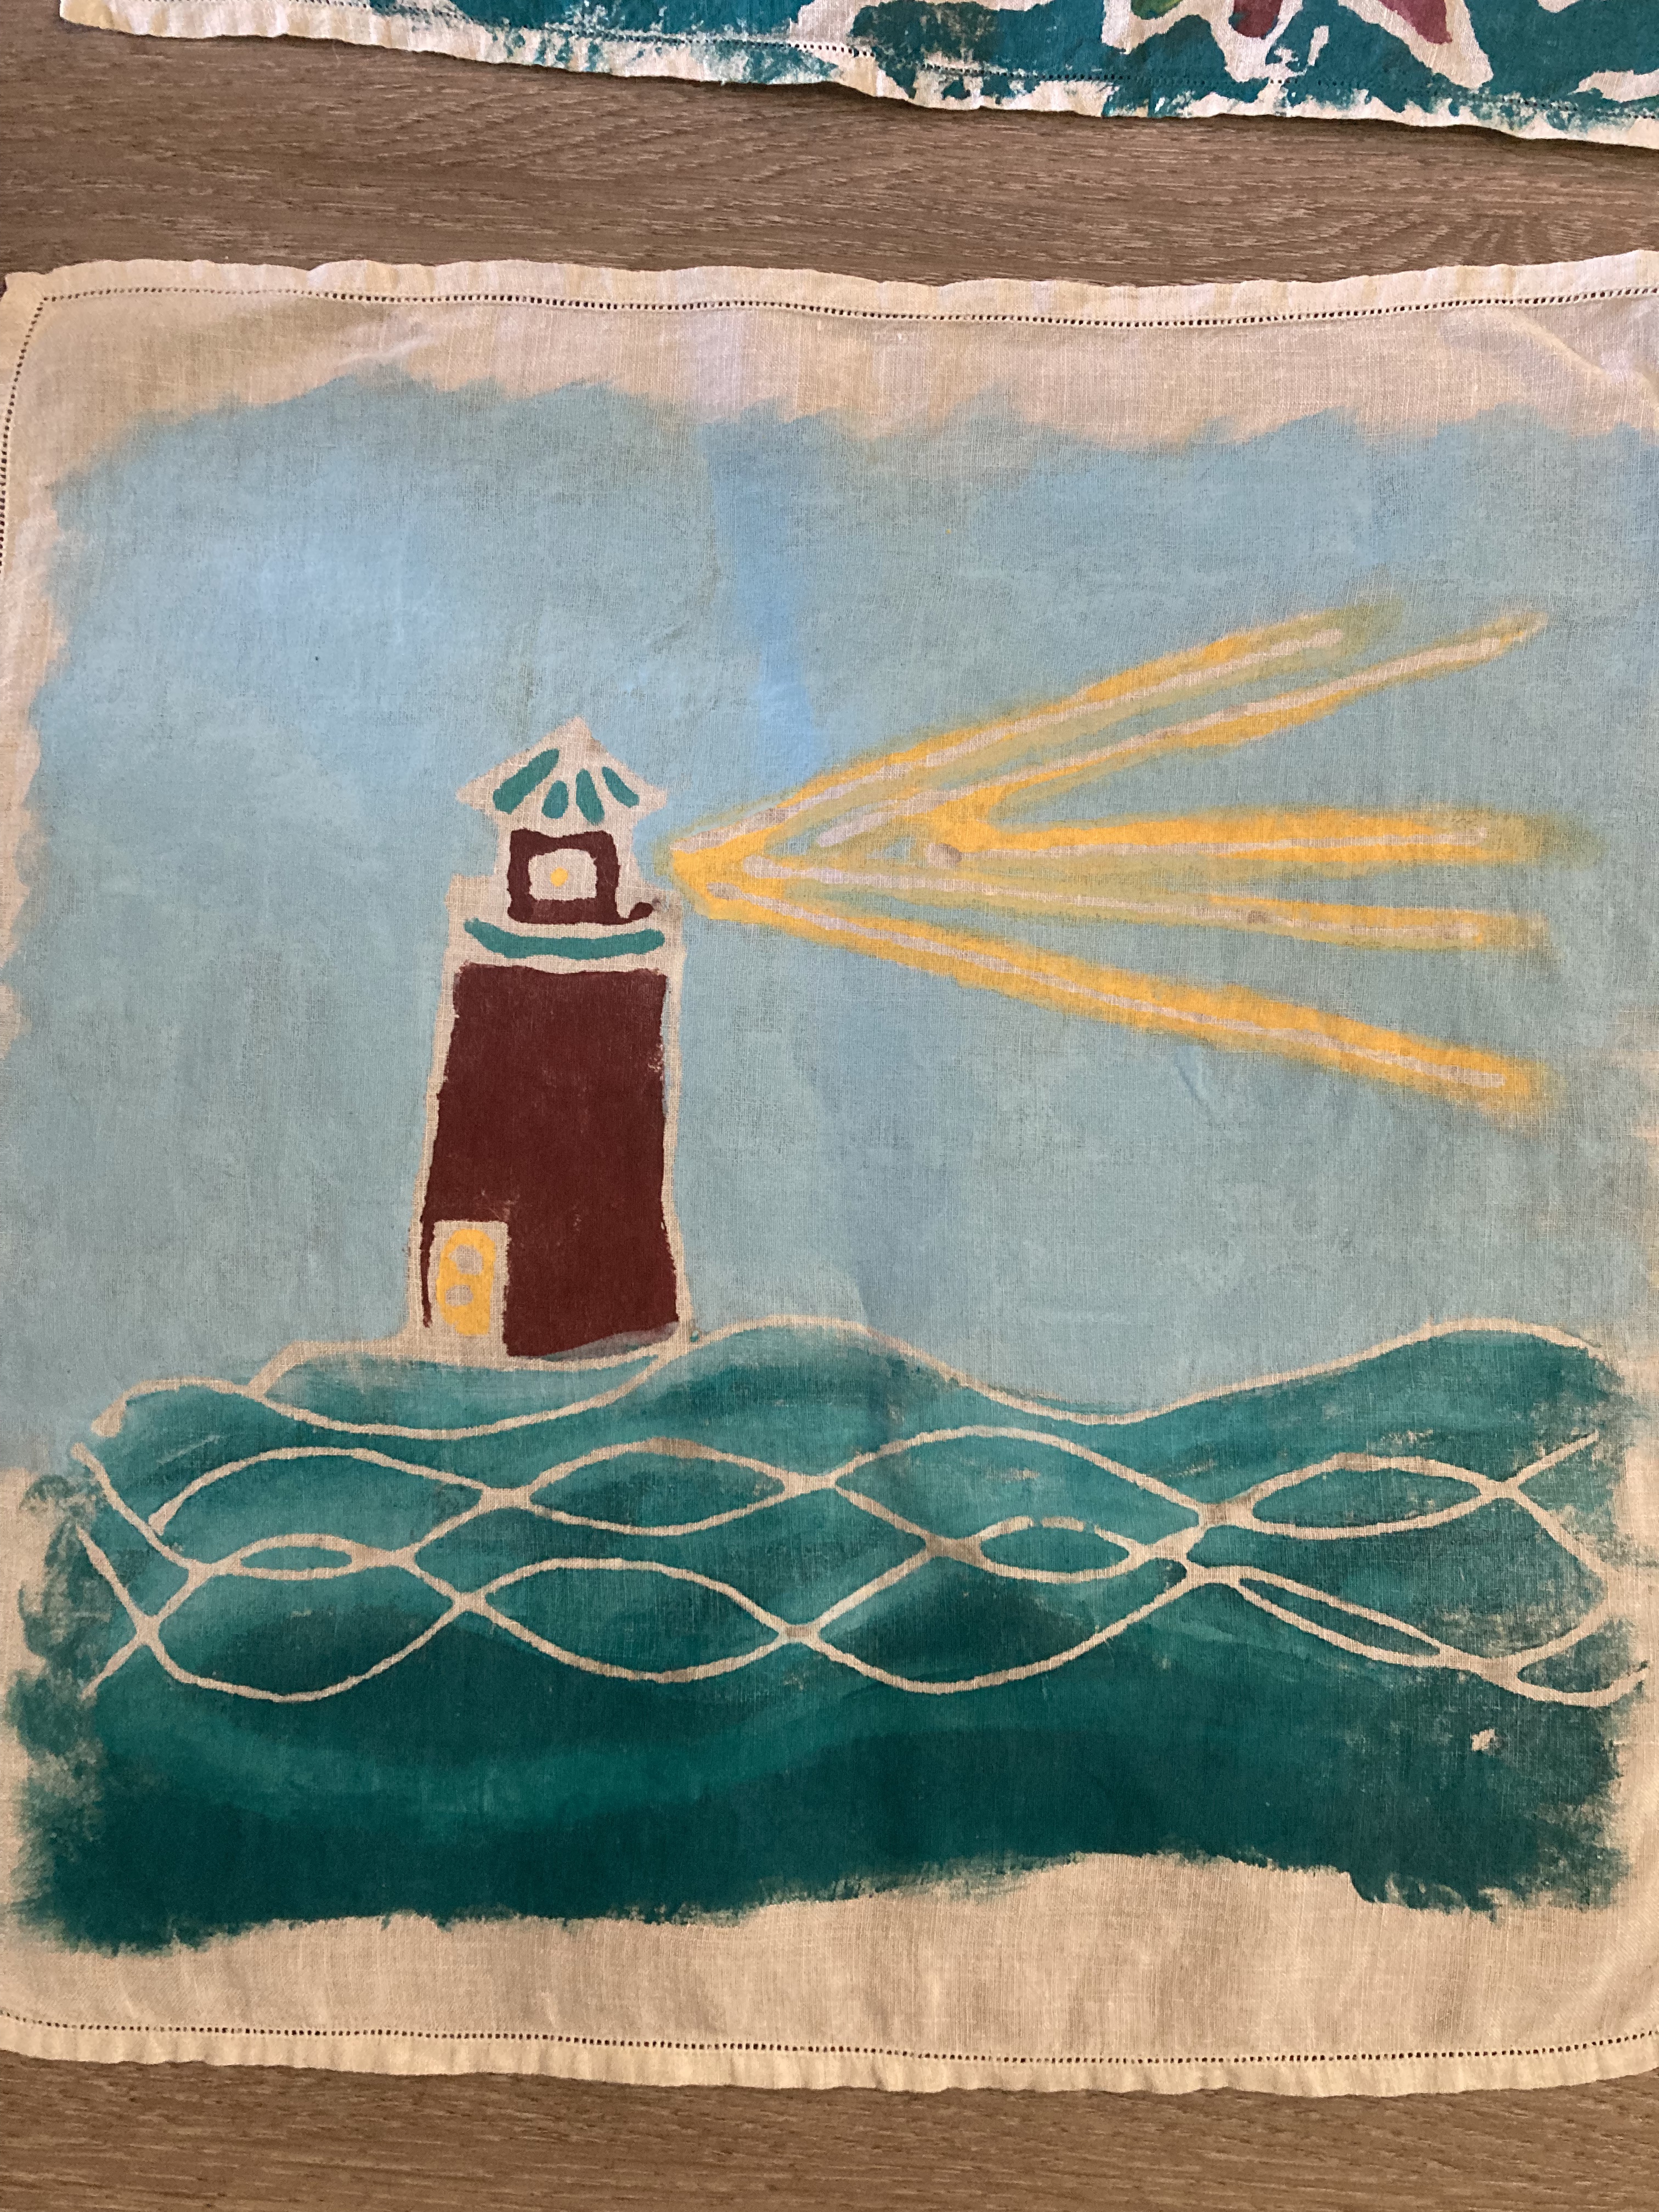
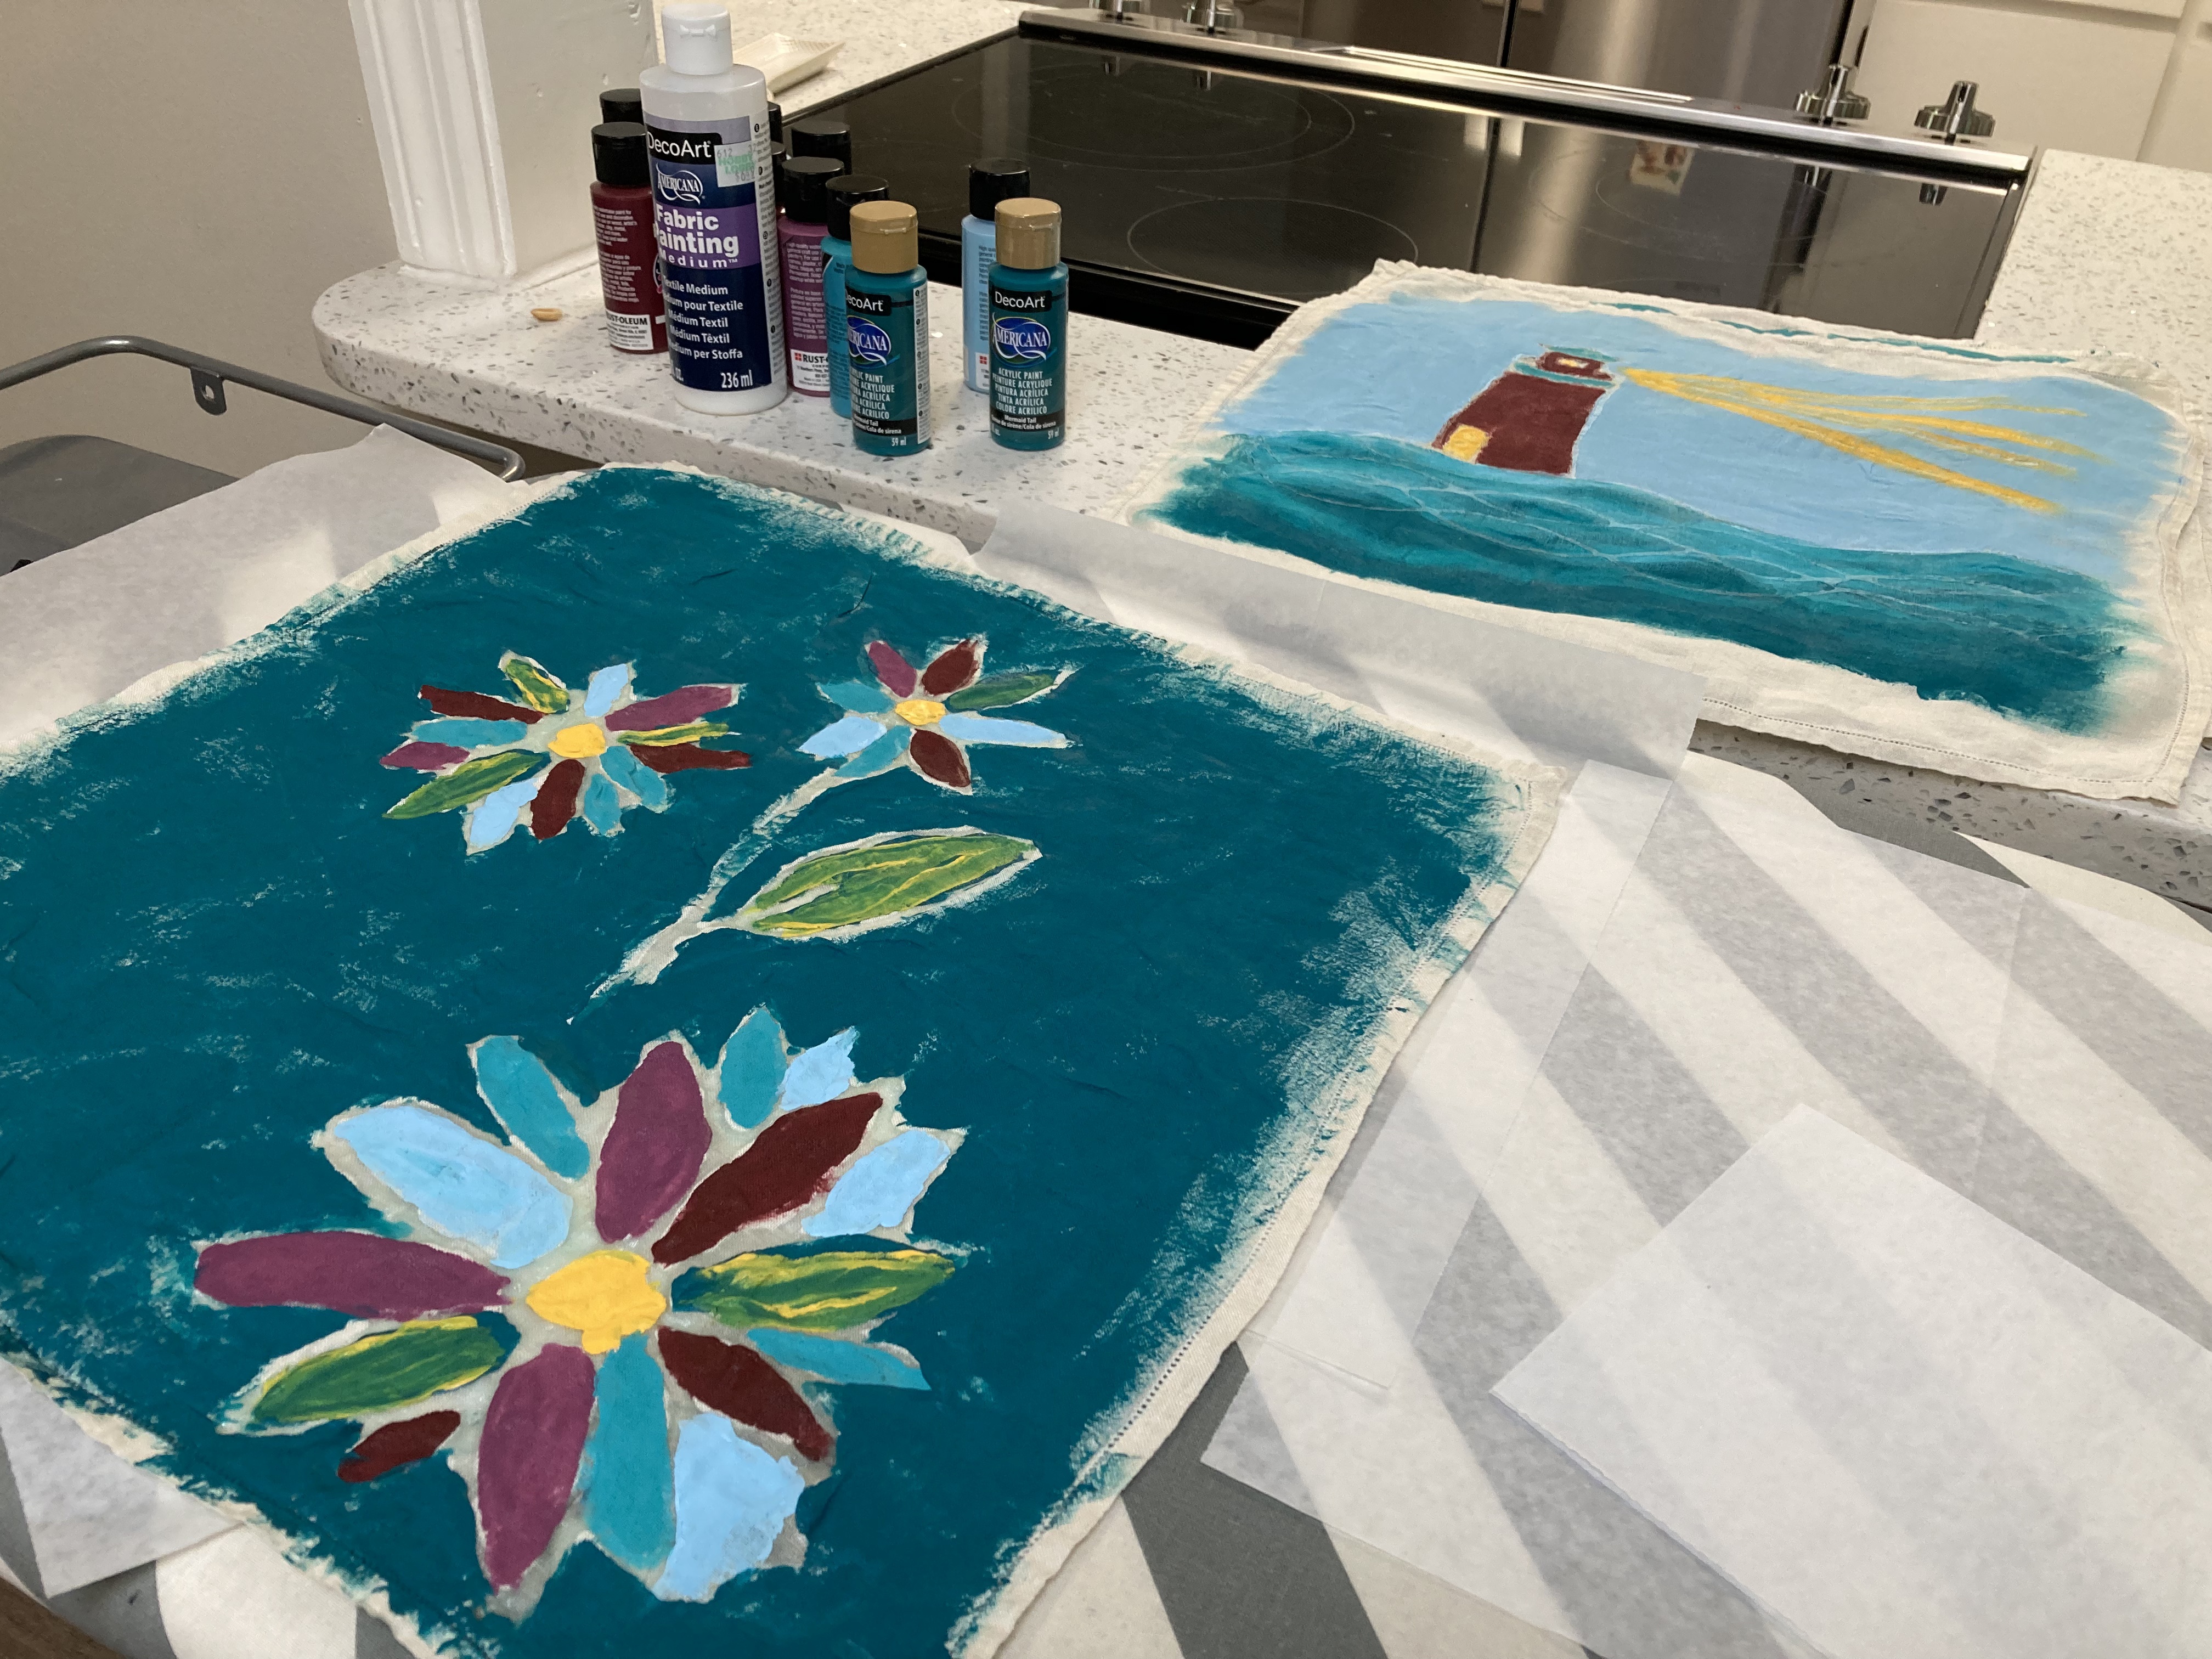
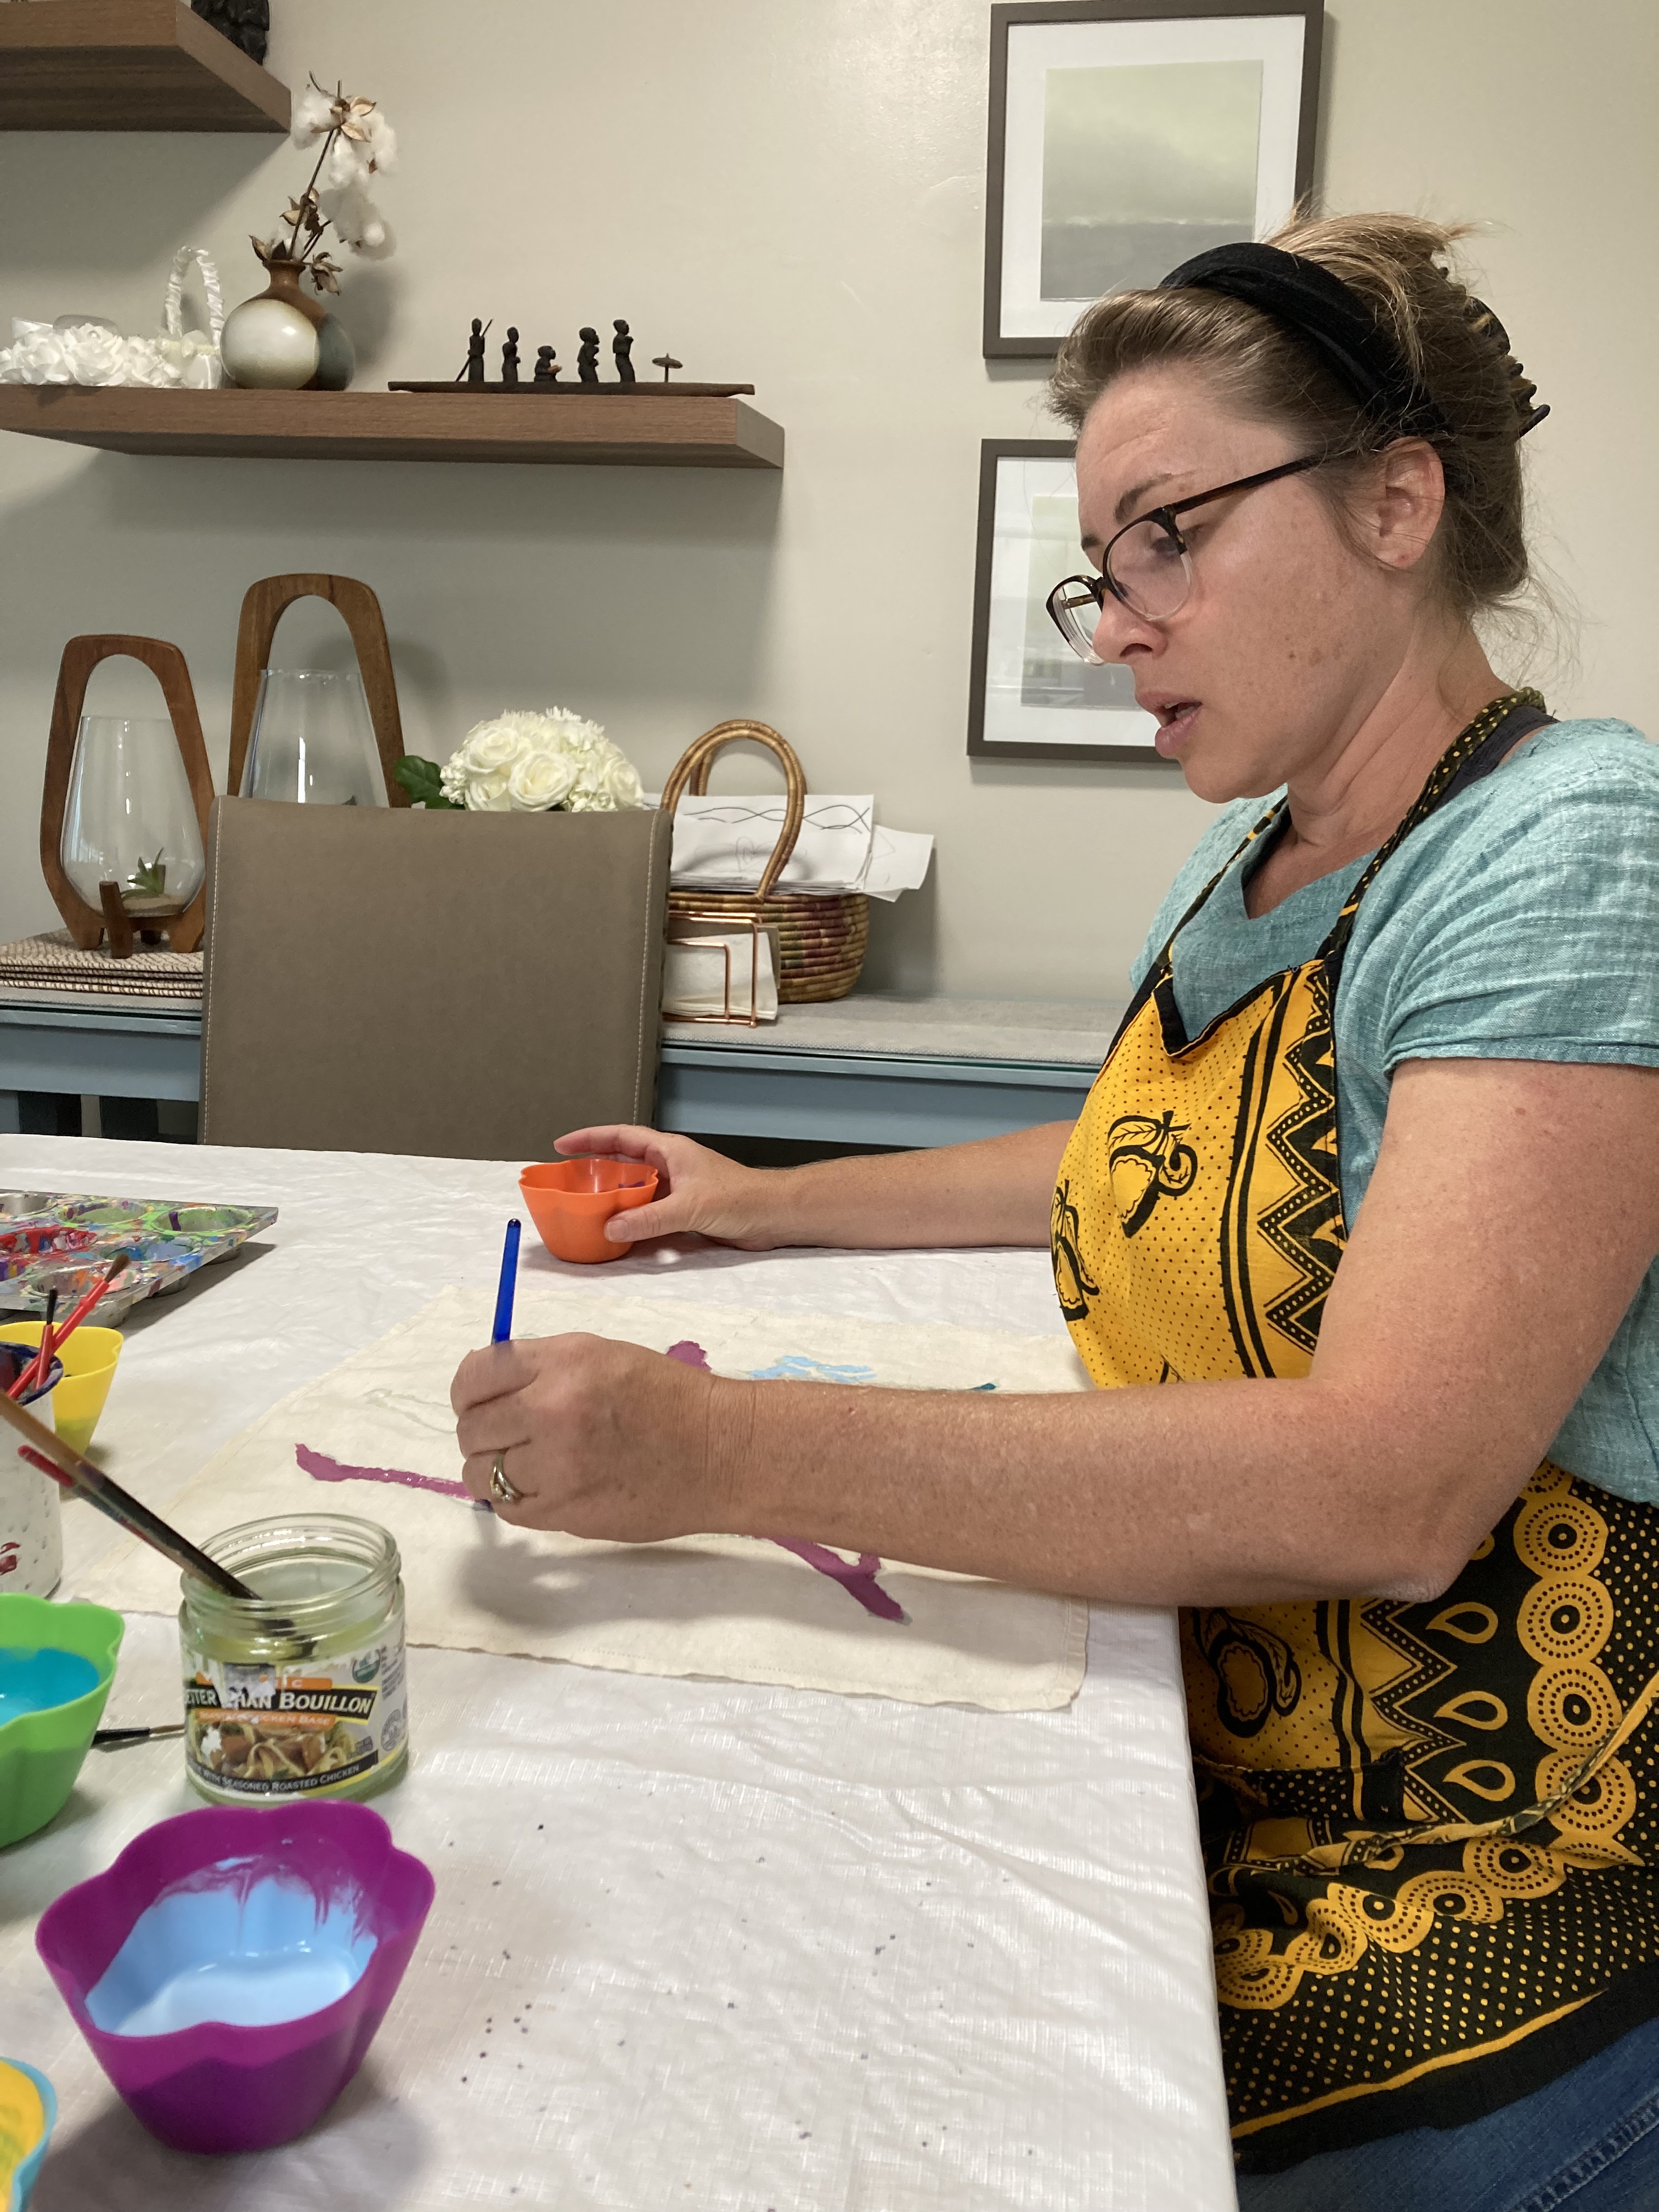
My mom, my aunt, two cousins, and three of their kids all participated in the resist-dye part of the project. Each person got a cloth square (old linen napkins) and some Elmer’s glue. We put our own design idea on the fabric square using the glue. Once it had dried, we brushed fabric paint onto the rest of the square. Once all THAT had dried, we used warm water to remove the glue (and the parchment paper that had stuck to the back of the fabric … note: never again use parchment paper for this project.) It took a full day and then some to finish this first step of the project, but we had a good time together.
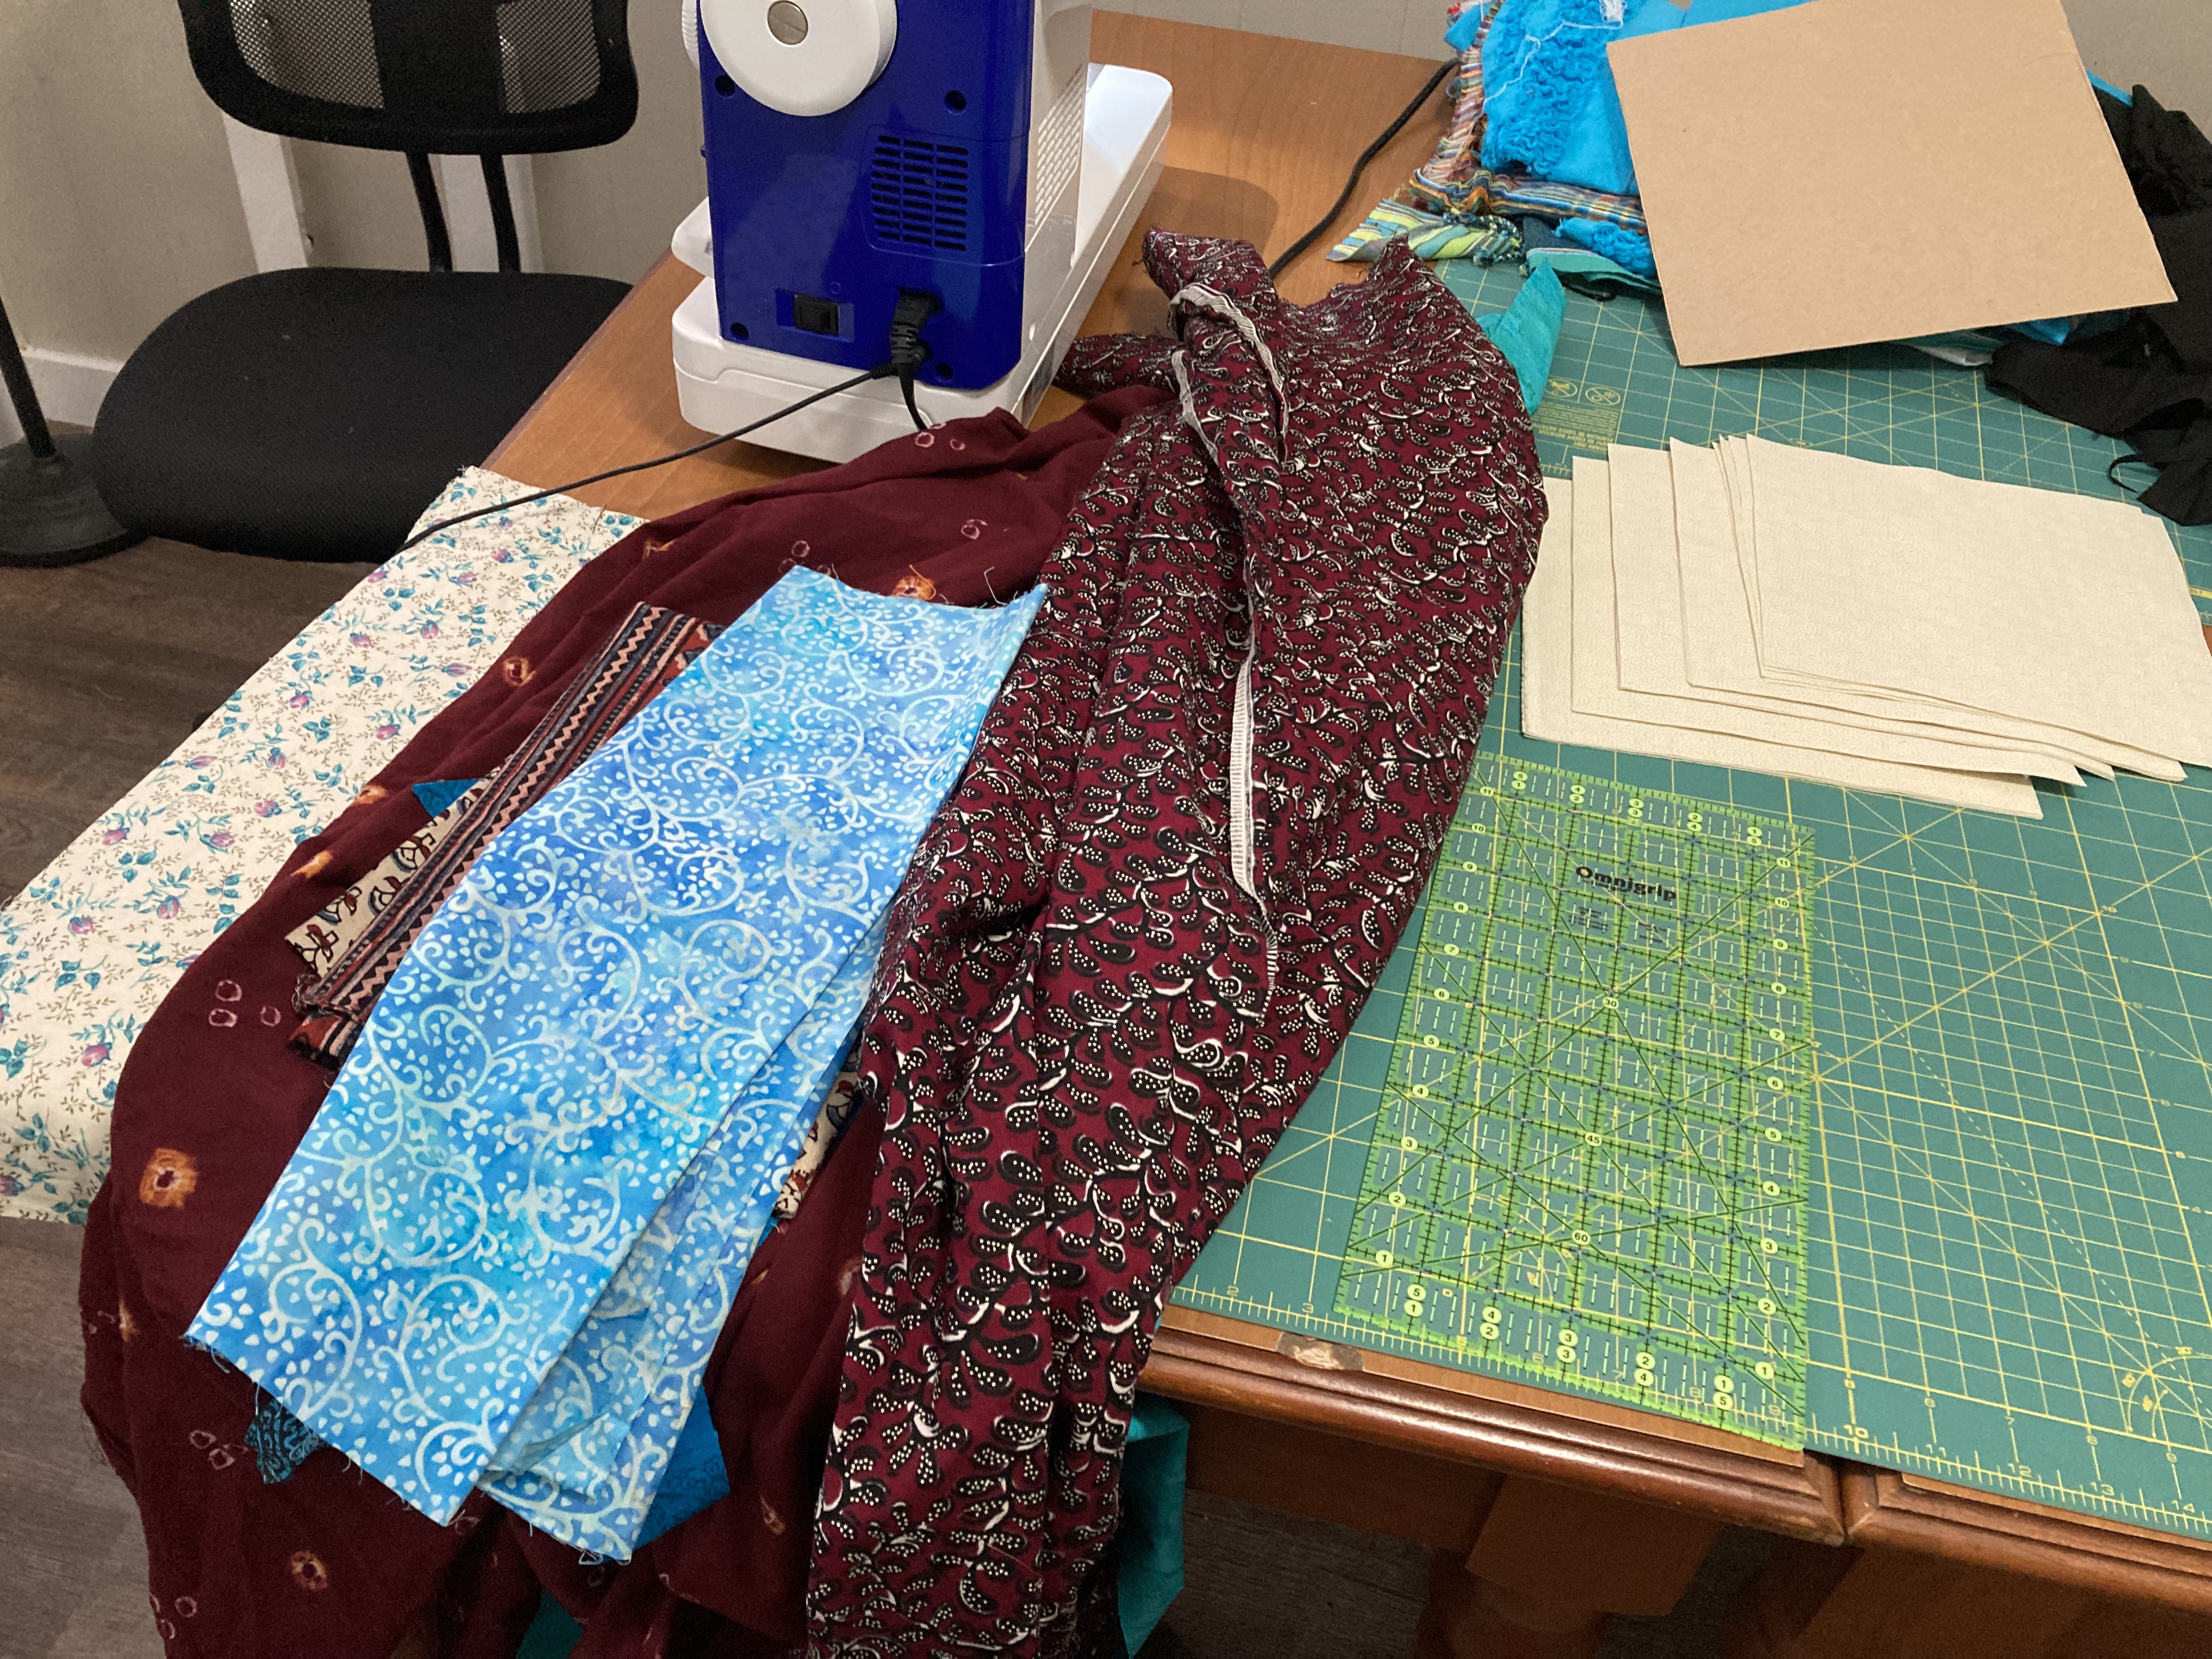
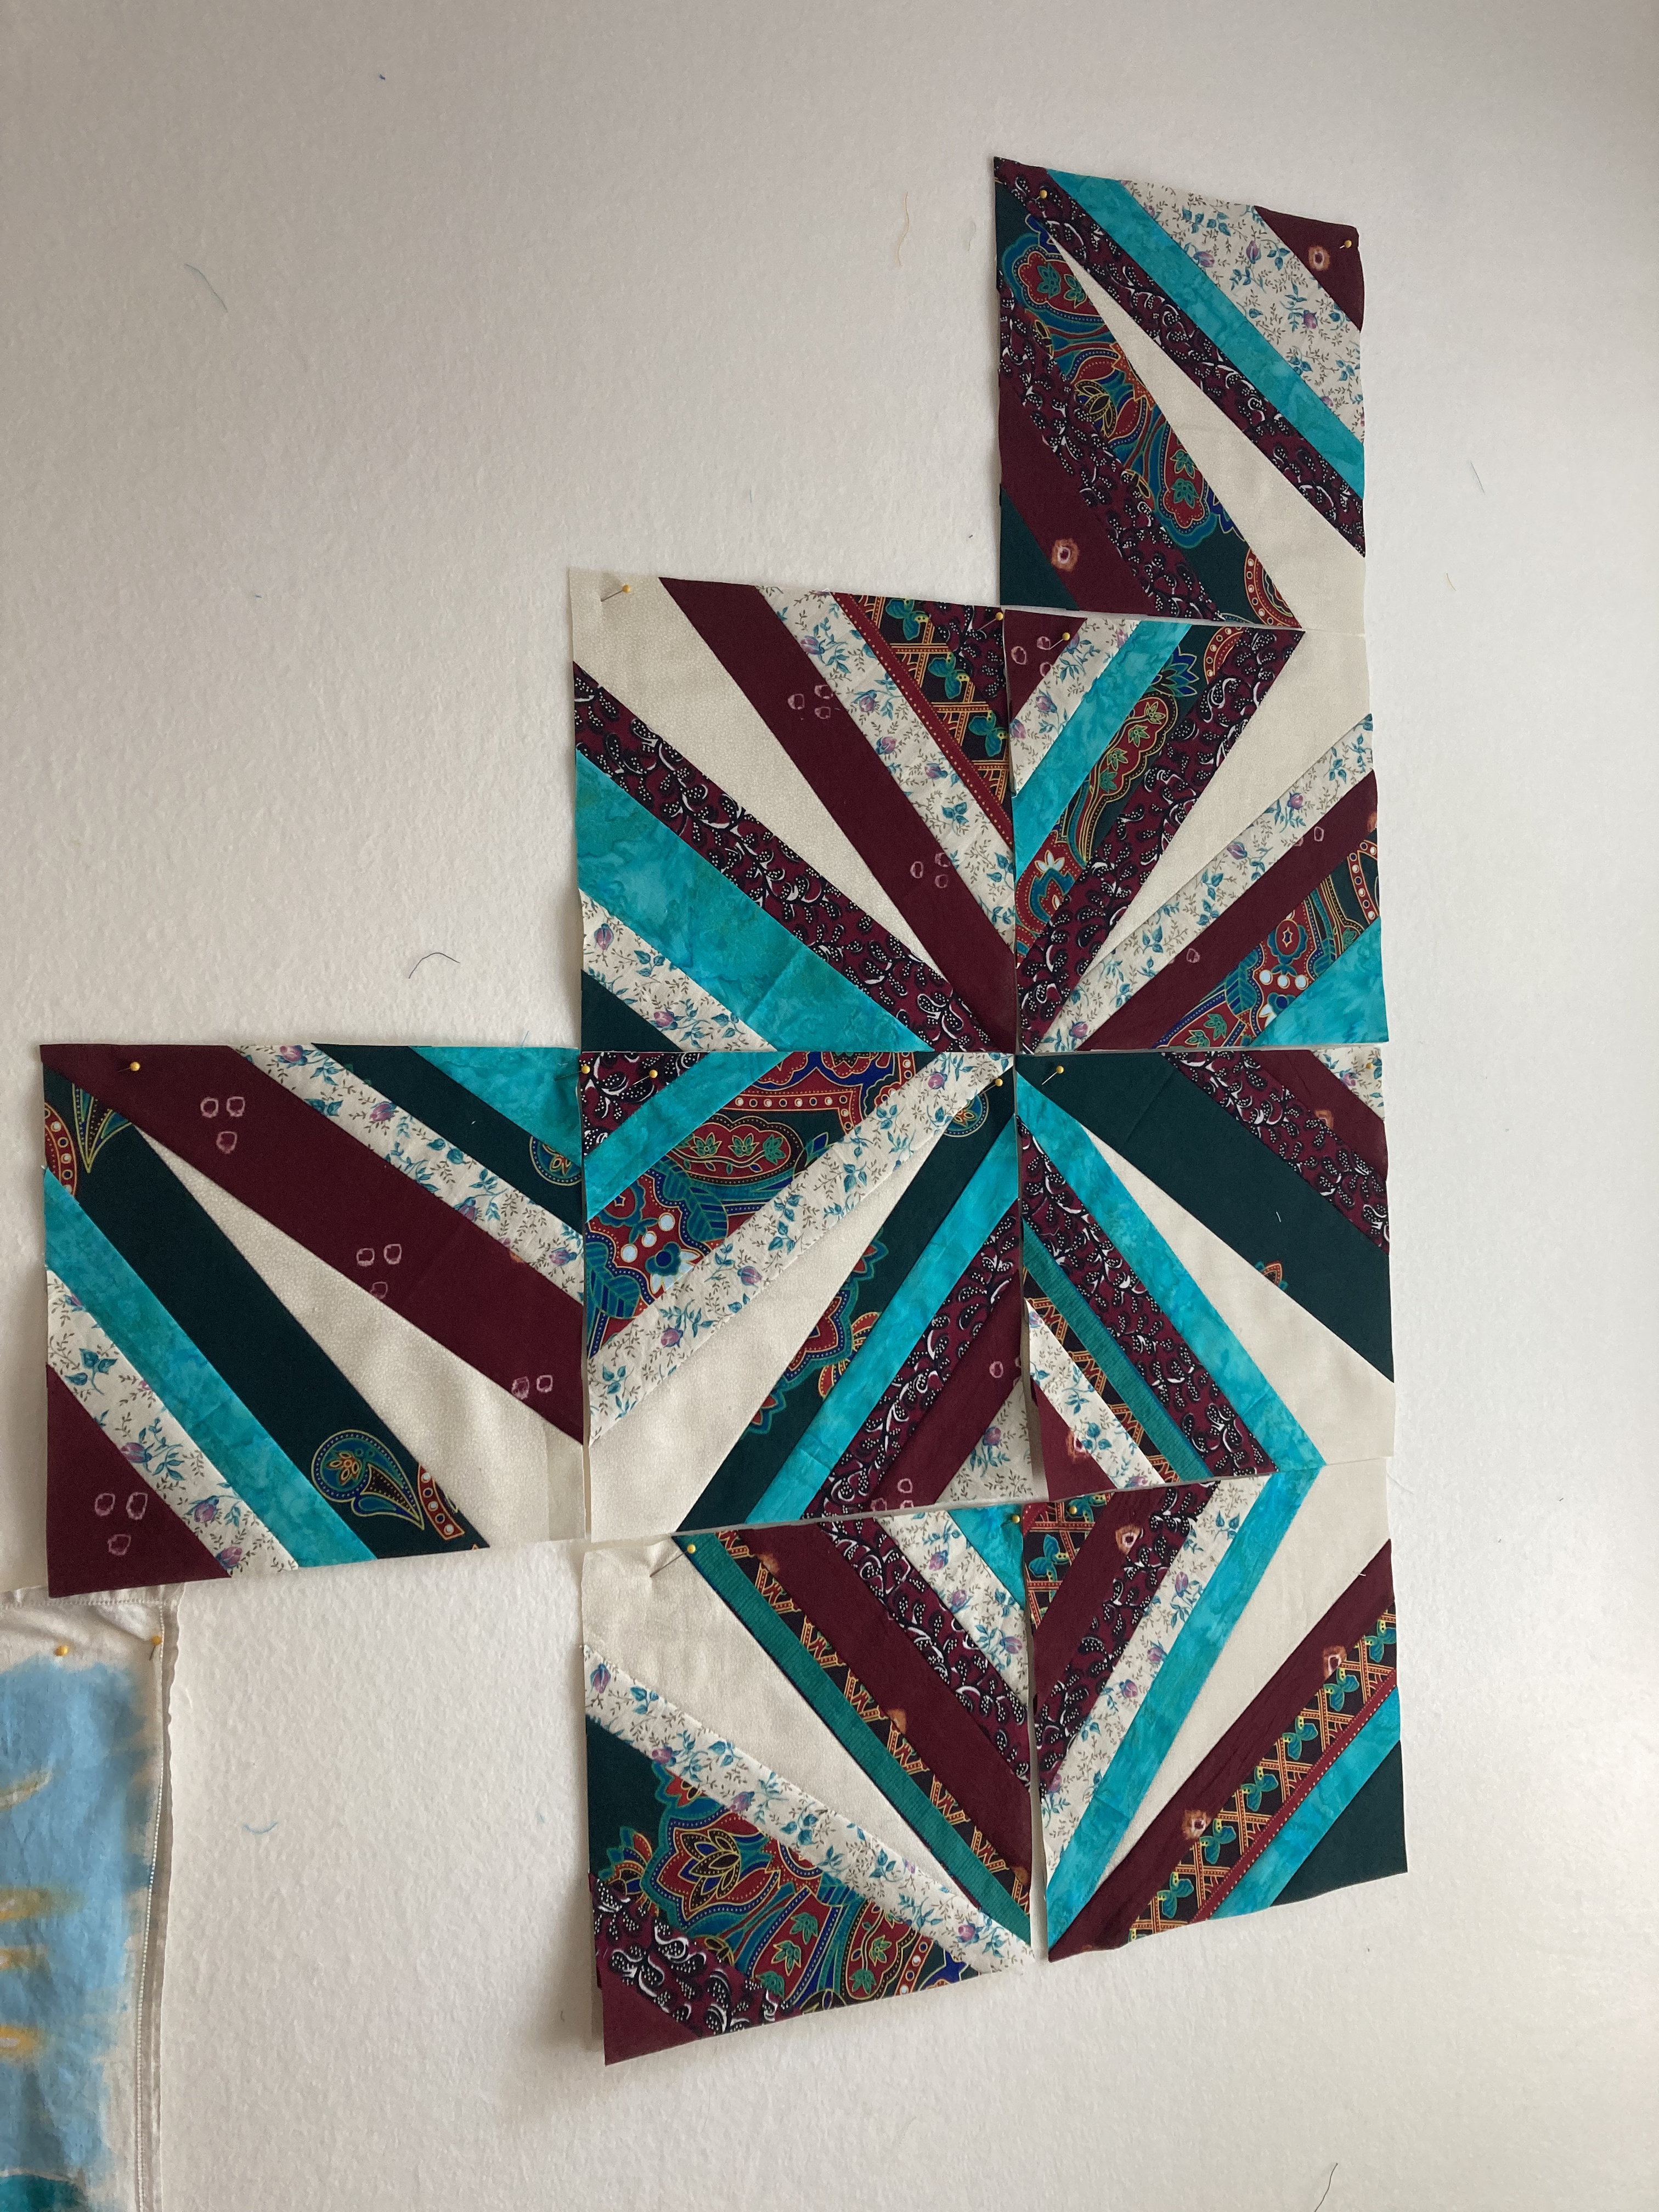
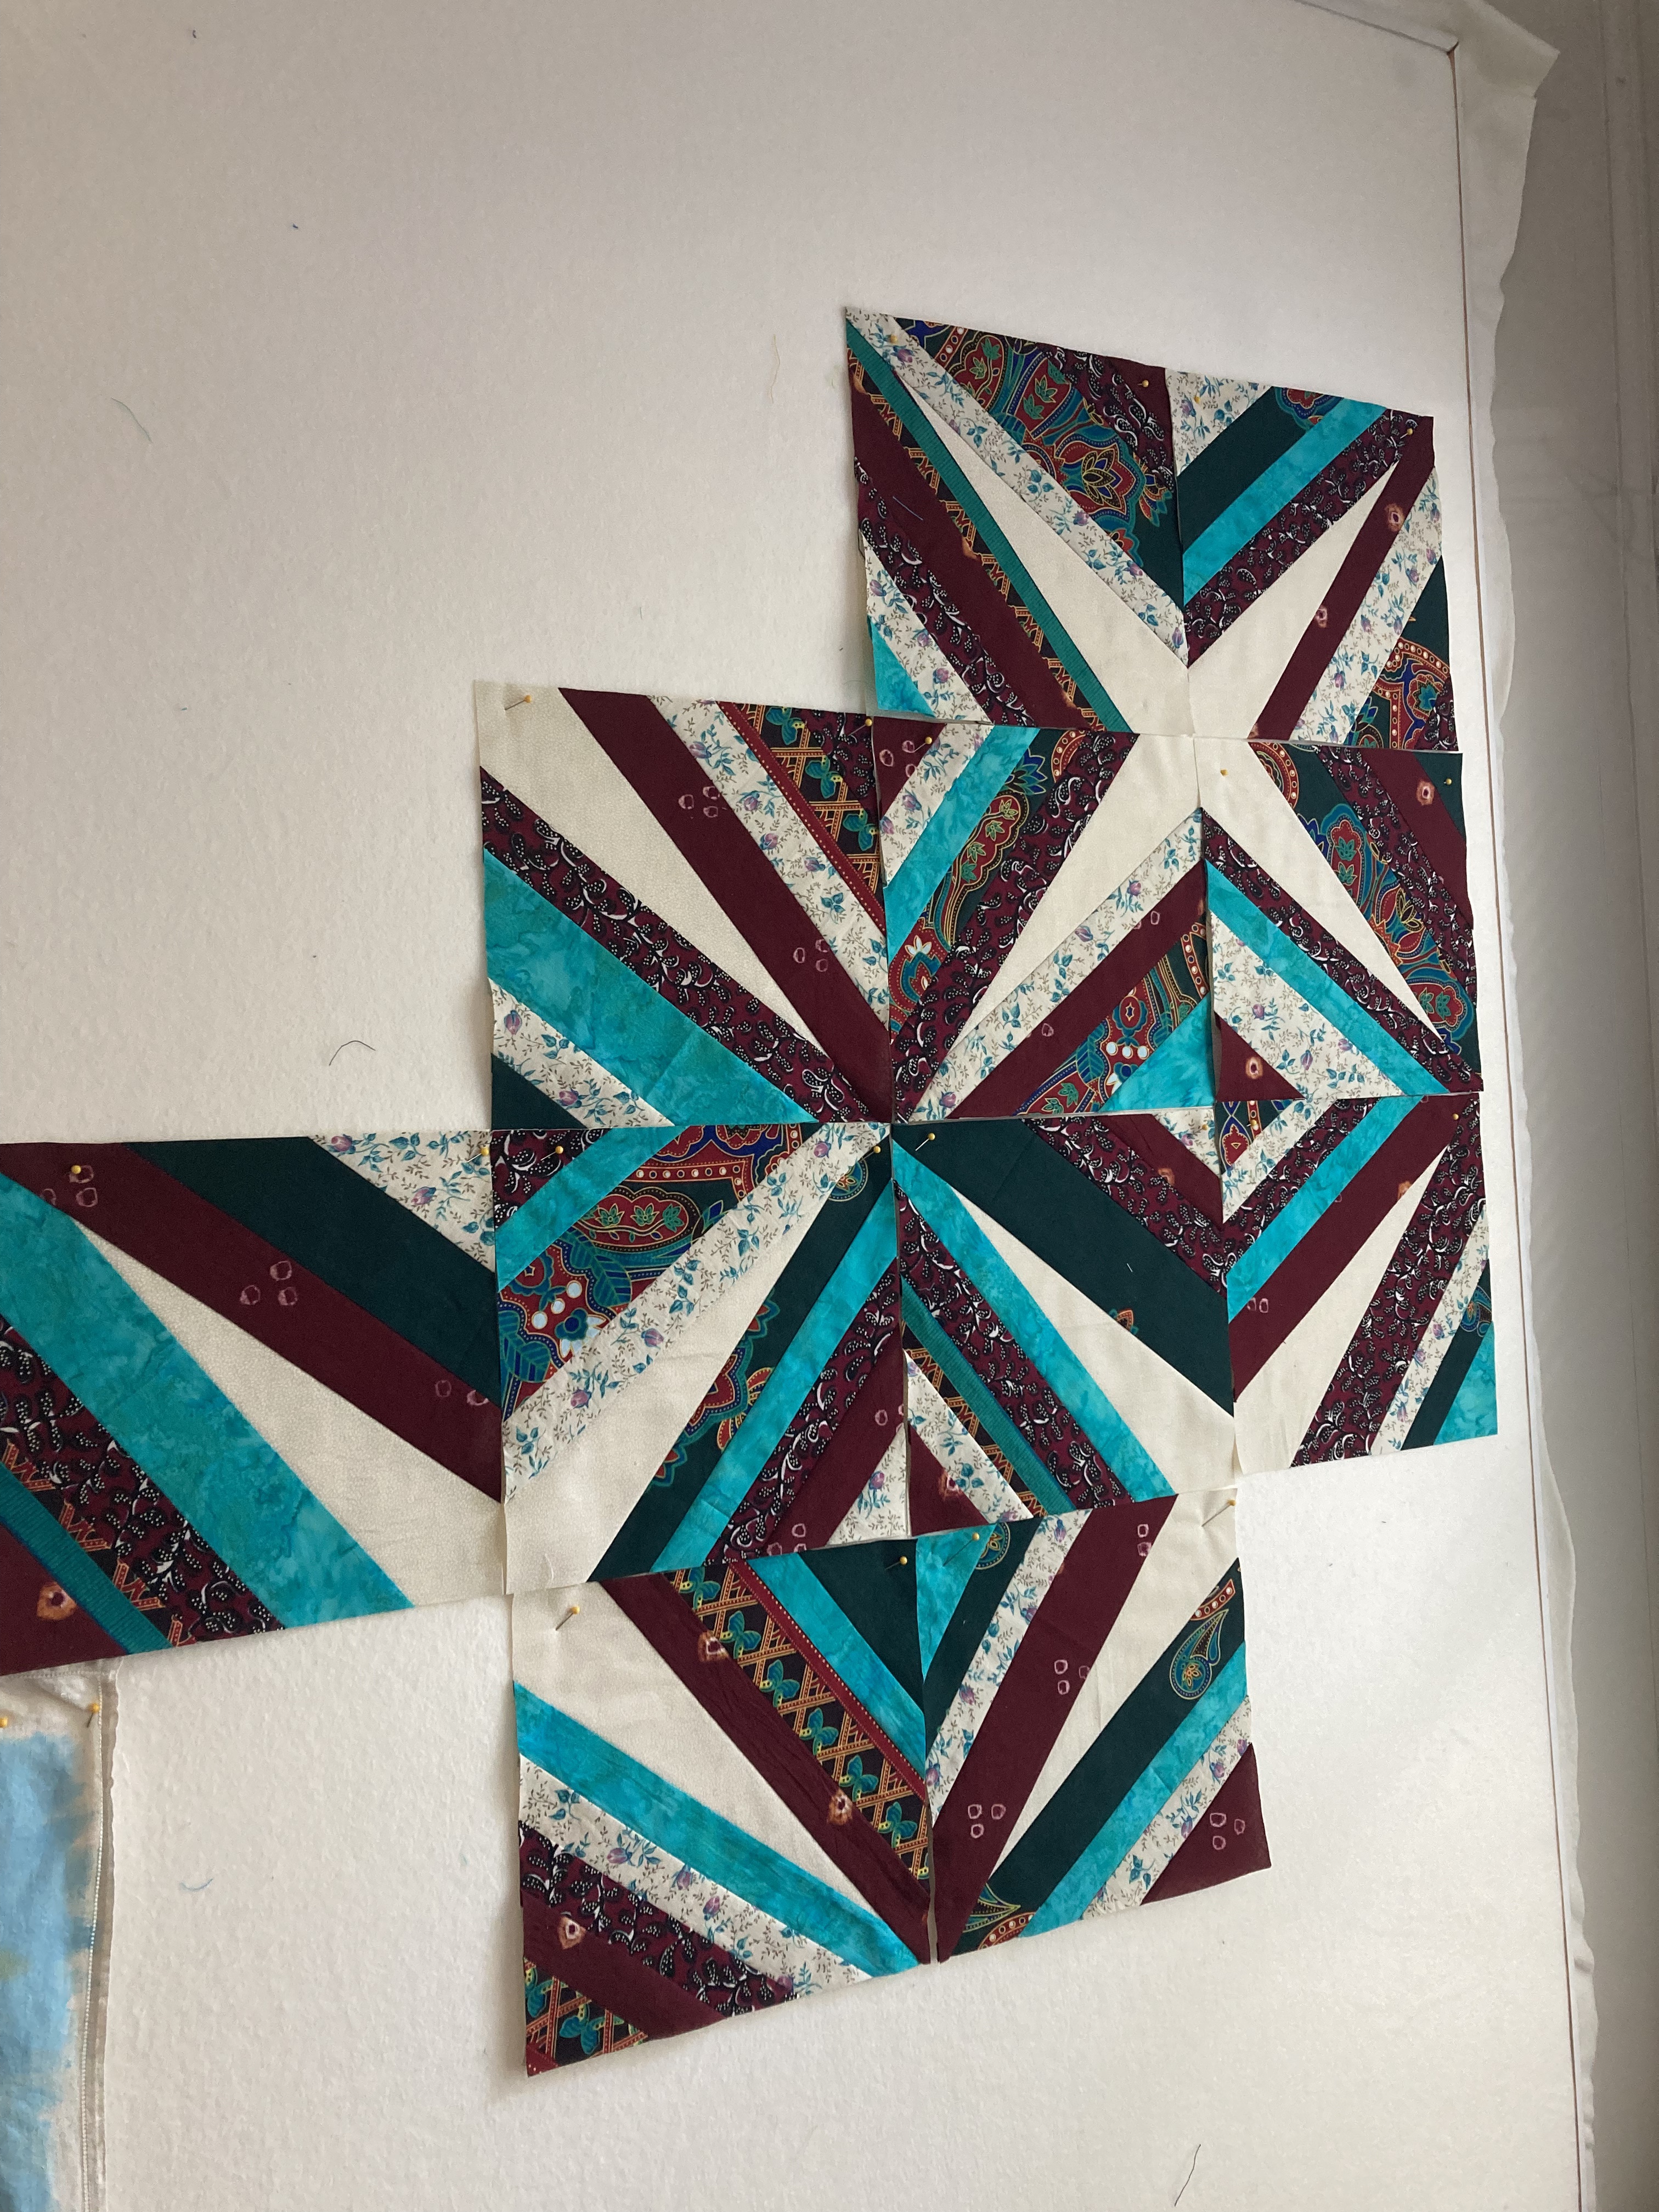
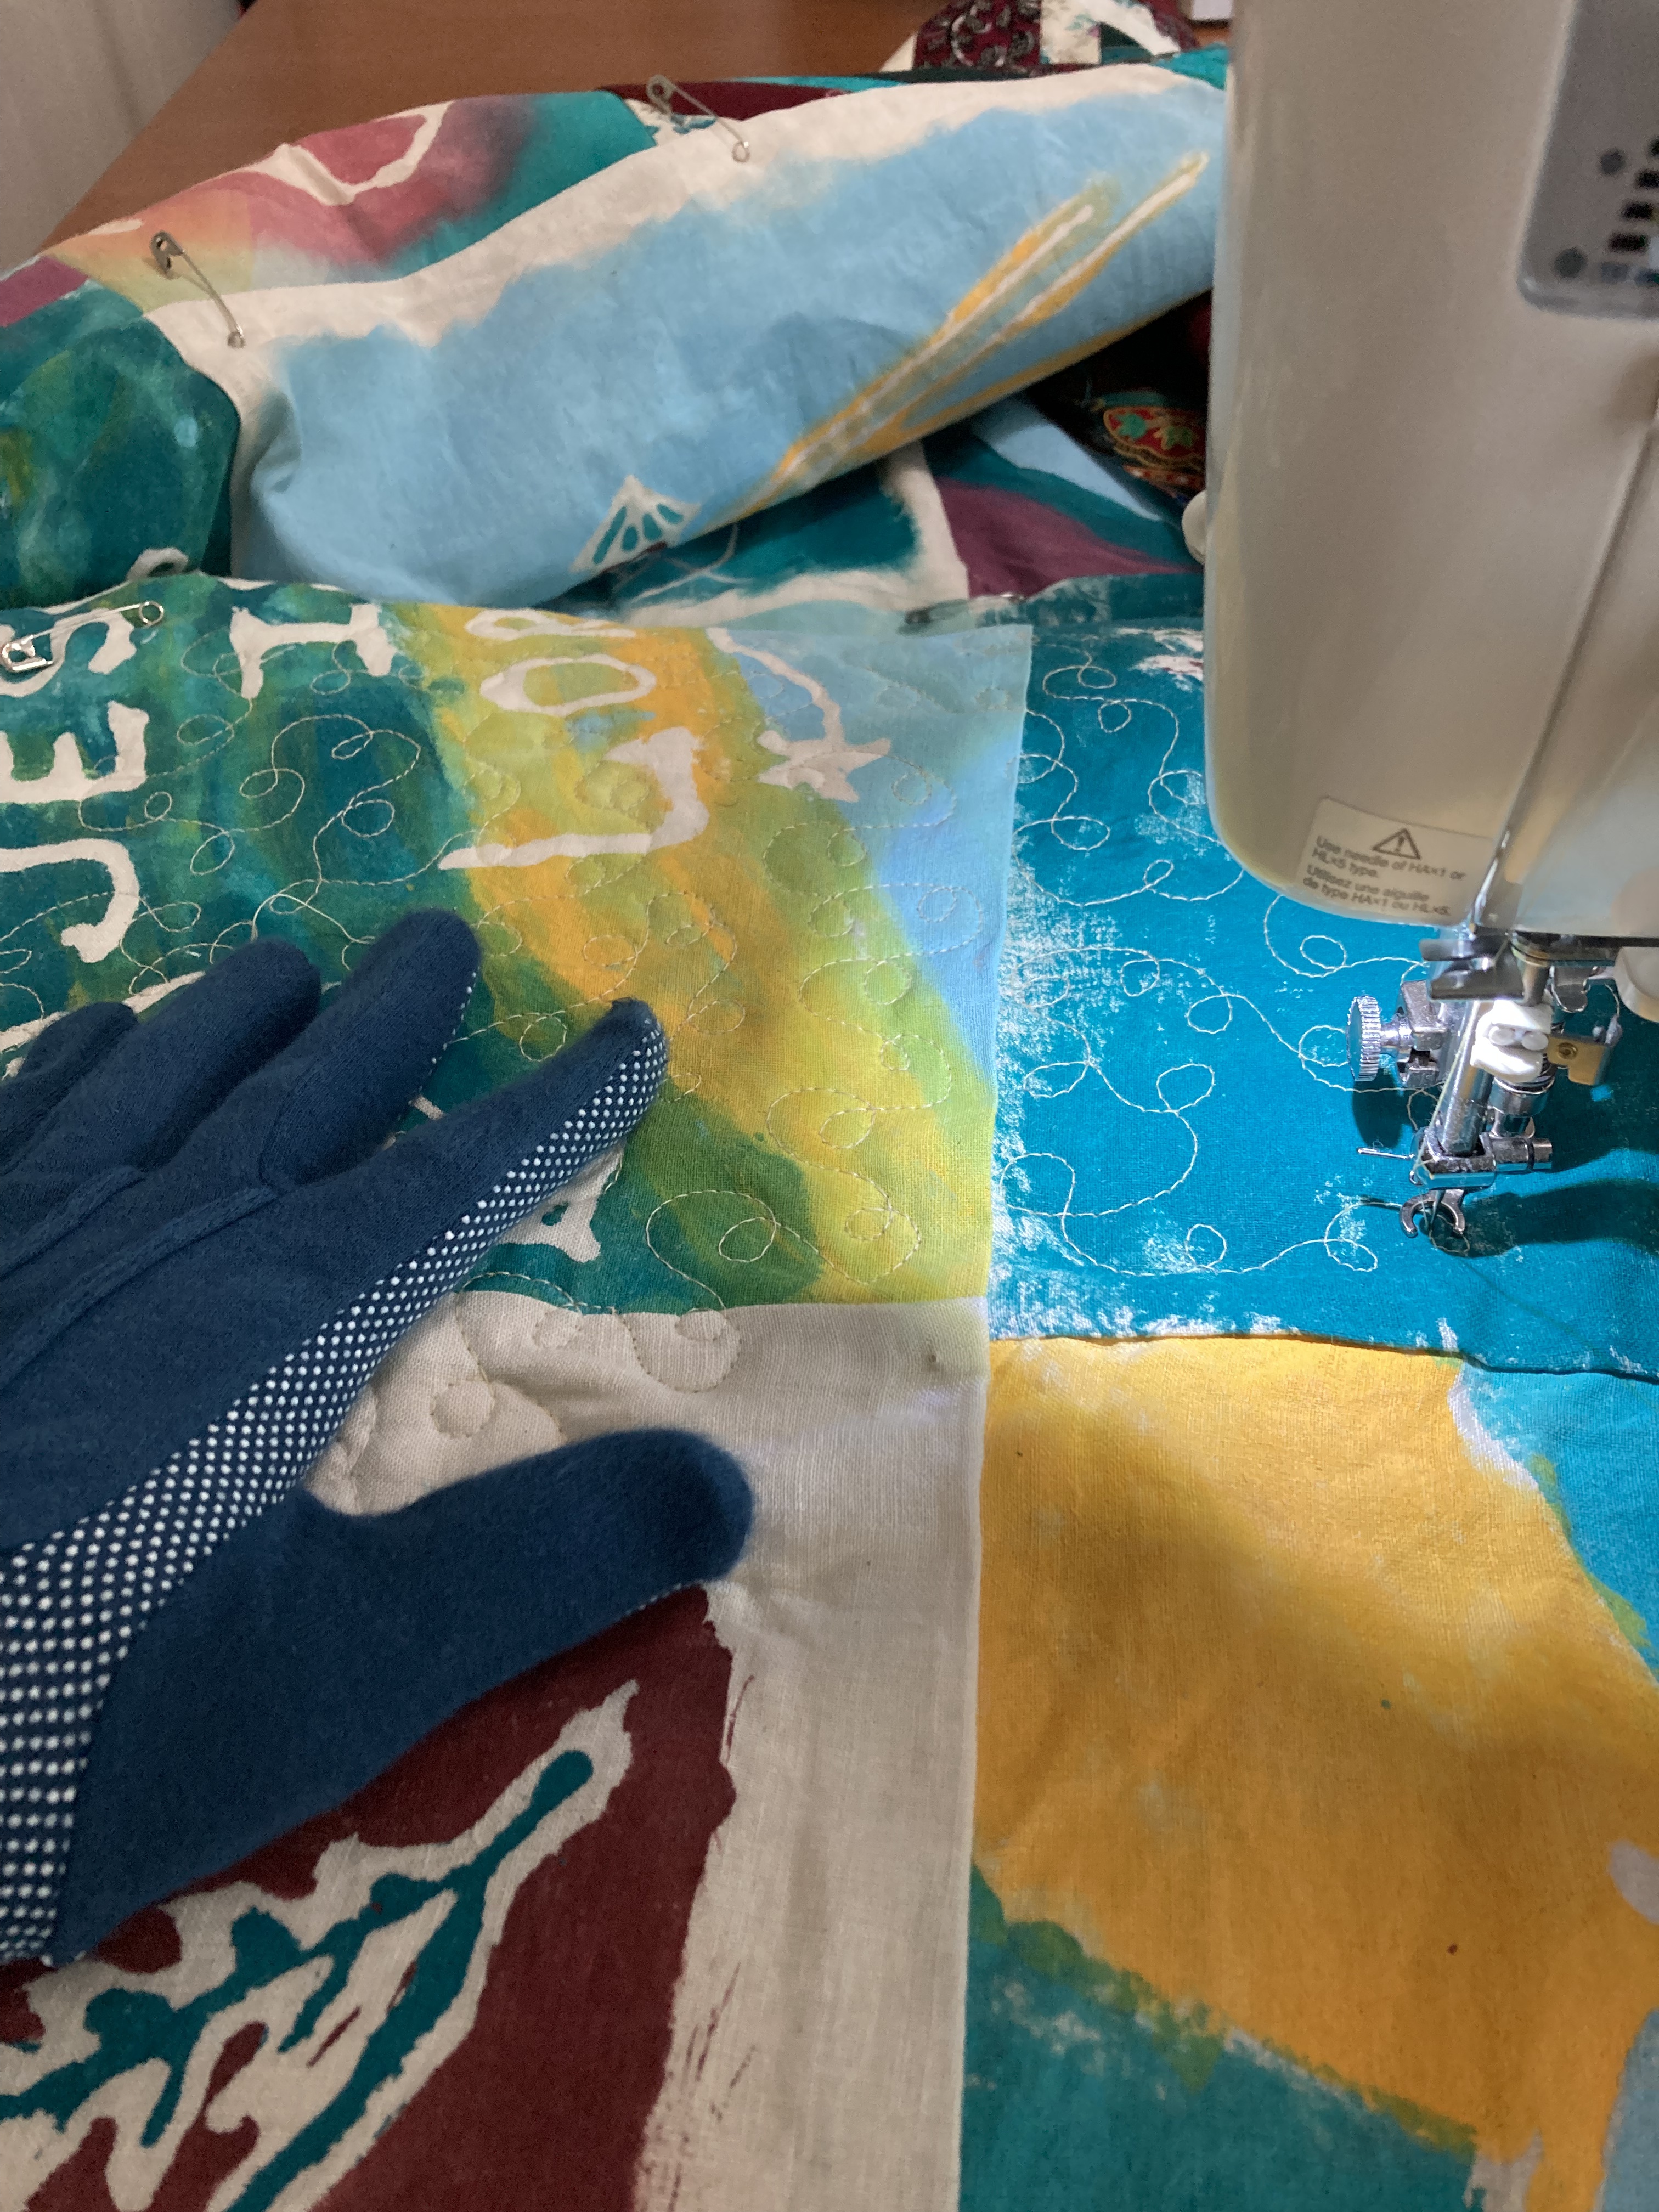
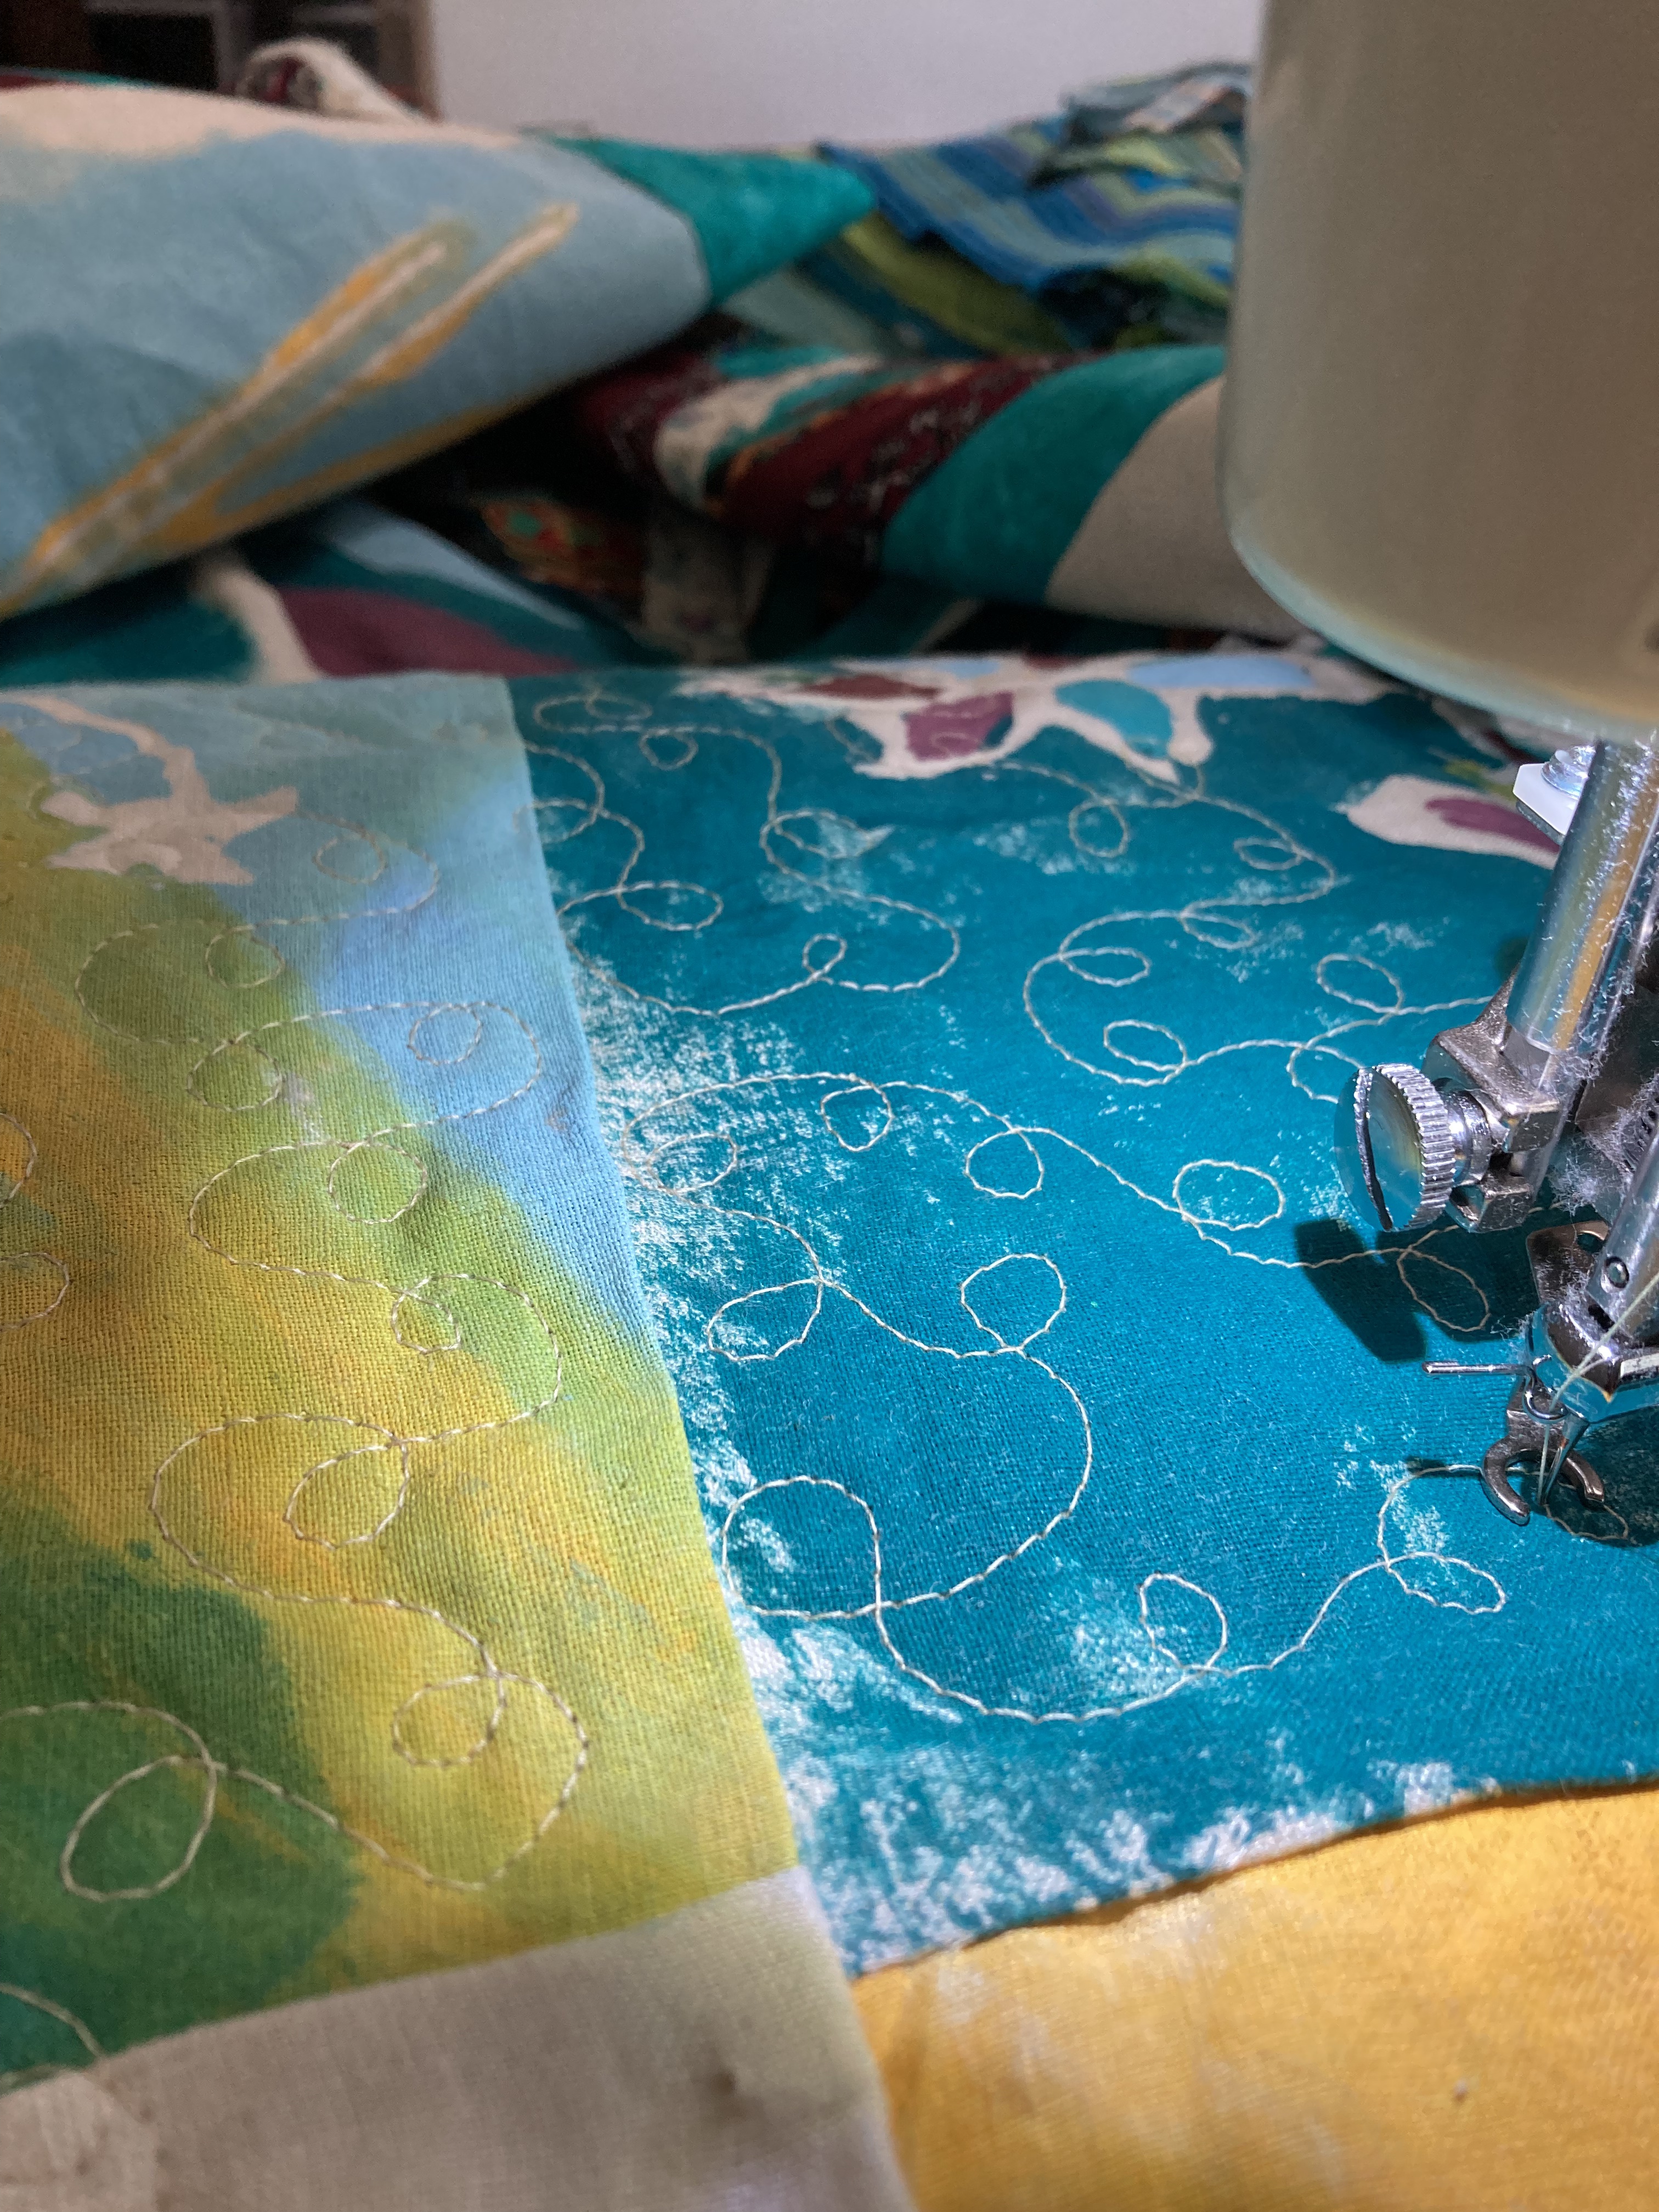
I then took all of the pieces home and stiched them together to make one side of the baby quilt.
Piecing the other side (the more traditional quilt side) and quilting the whole thing together took me about a week with some very late nights along the way. I was on a deadline — I needed to finish before I flew to CA in July to see my new niece.